
This is a short guide to installing flexible solar panels to a narrowboat.
How long do flexible solar panels last for?
No doubt, less long than their rigid counterparts. Rigid panels offer 35 year warranty.
2025 – After 7 years, the top laminate of the panels has started to peel off. This gave a bubbling effect to the surface of the panels where the laminate had come away from the main part of the flexible cell body.
With a knife, I peeled away this protective laminate in it’s entirety. The surface below was slightly gummy, but the working surface of the panels was still intact.
Both of those panels still generate electricity, and from my latest measurements, at the same rate as the new set of flexible panels I put on some years later.
I hadn’t made much difference.
I have to keep them cleaner, and the surface is slightly cracked.
So, how long do flexible panels last for? In their brand new and no different 7 years. For me
Background
I’ve lived on my boat for 2 years. When I first started, I was located in a Marina. Everything was laid on, showers, water, electrical hook-up.
It reminded me of a high-rise flat for boats. After my boat was painted, I took it up on a journey to the most Northern and Southern reaches of the UK canal system.
It was called Bonnie Journey, in the name of the boat. You can read about it here.
It included some cycling, which I had to postpone due to injury. Whilst I was waiting for my injuries to recover, I stationed myself on the Kennet and Avon.
Kennet and Avon

As visitors to this waterway will know. Kennet and Avon Marinas are few and far between.
I decided to try continuous cruising. When you’re continuous cruising, all your energy has to be self generated.
You’re entirely ‘off grid’. In winter, generating power was a case of starting the engine.
As the sun began to shine, in the run up to spring, I began to think of the advantages of solar.
After my boat was fully painted, I decided that the next job to be done, was to fit some solar panels, and take advantage of the free energy!
I’m now in a position to do that.
Researching
Most people are going to find that this is the most lengthy part of the process.
Before you shell out large sums of money, you want to ensure you’re getting something which is fully compatible with your needs.
The first question you need to ask yourself before fitting solar is –
What are my needs?

Size: This is the physical size that you have available to be taken up by a set of solar panels.
Most of a narrowboat roof is potentially space for installing panels, but you need to look at how much of that you can spare or want to allocate for the use of the solar panels.
Type: Flexible or rigid. Of course, everyone has a view on this, rigid advocates will tell you that flexible are inefficient and break easily, are costly etc. The truth is, solar panel technology is changing very rapidly, and many of the stories you may hear about flexible panels being less efficient and a waste of money refer to panels that were manufactured years ago.
The choice should be yours and whichever type of solar panel is more suitable for your type of boat.
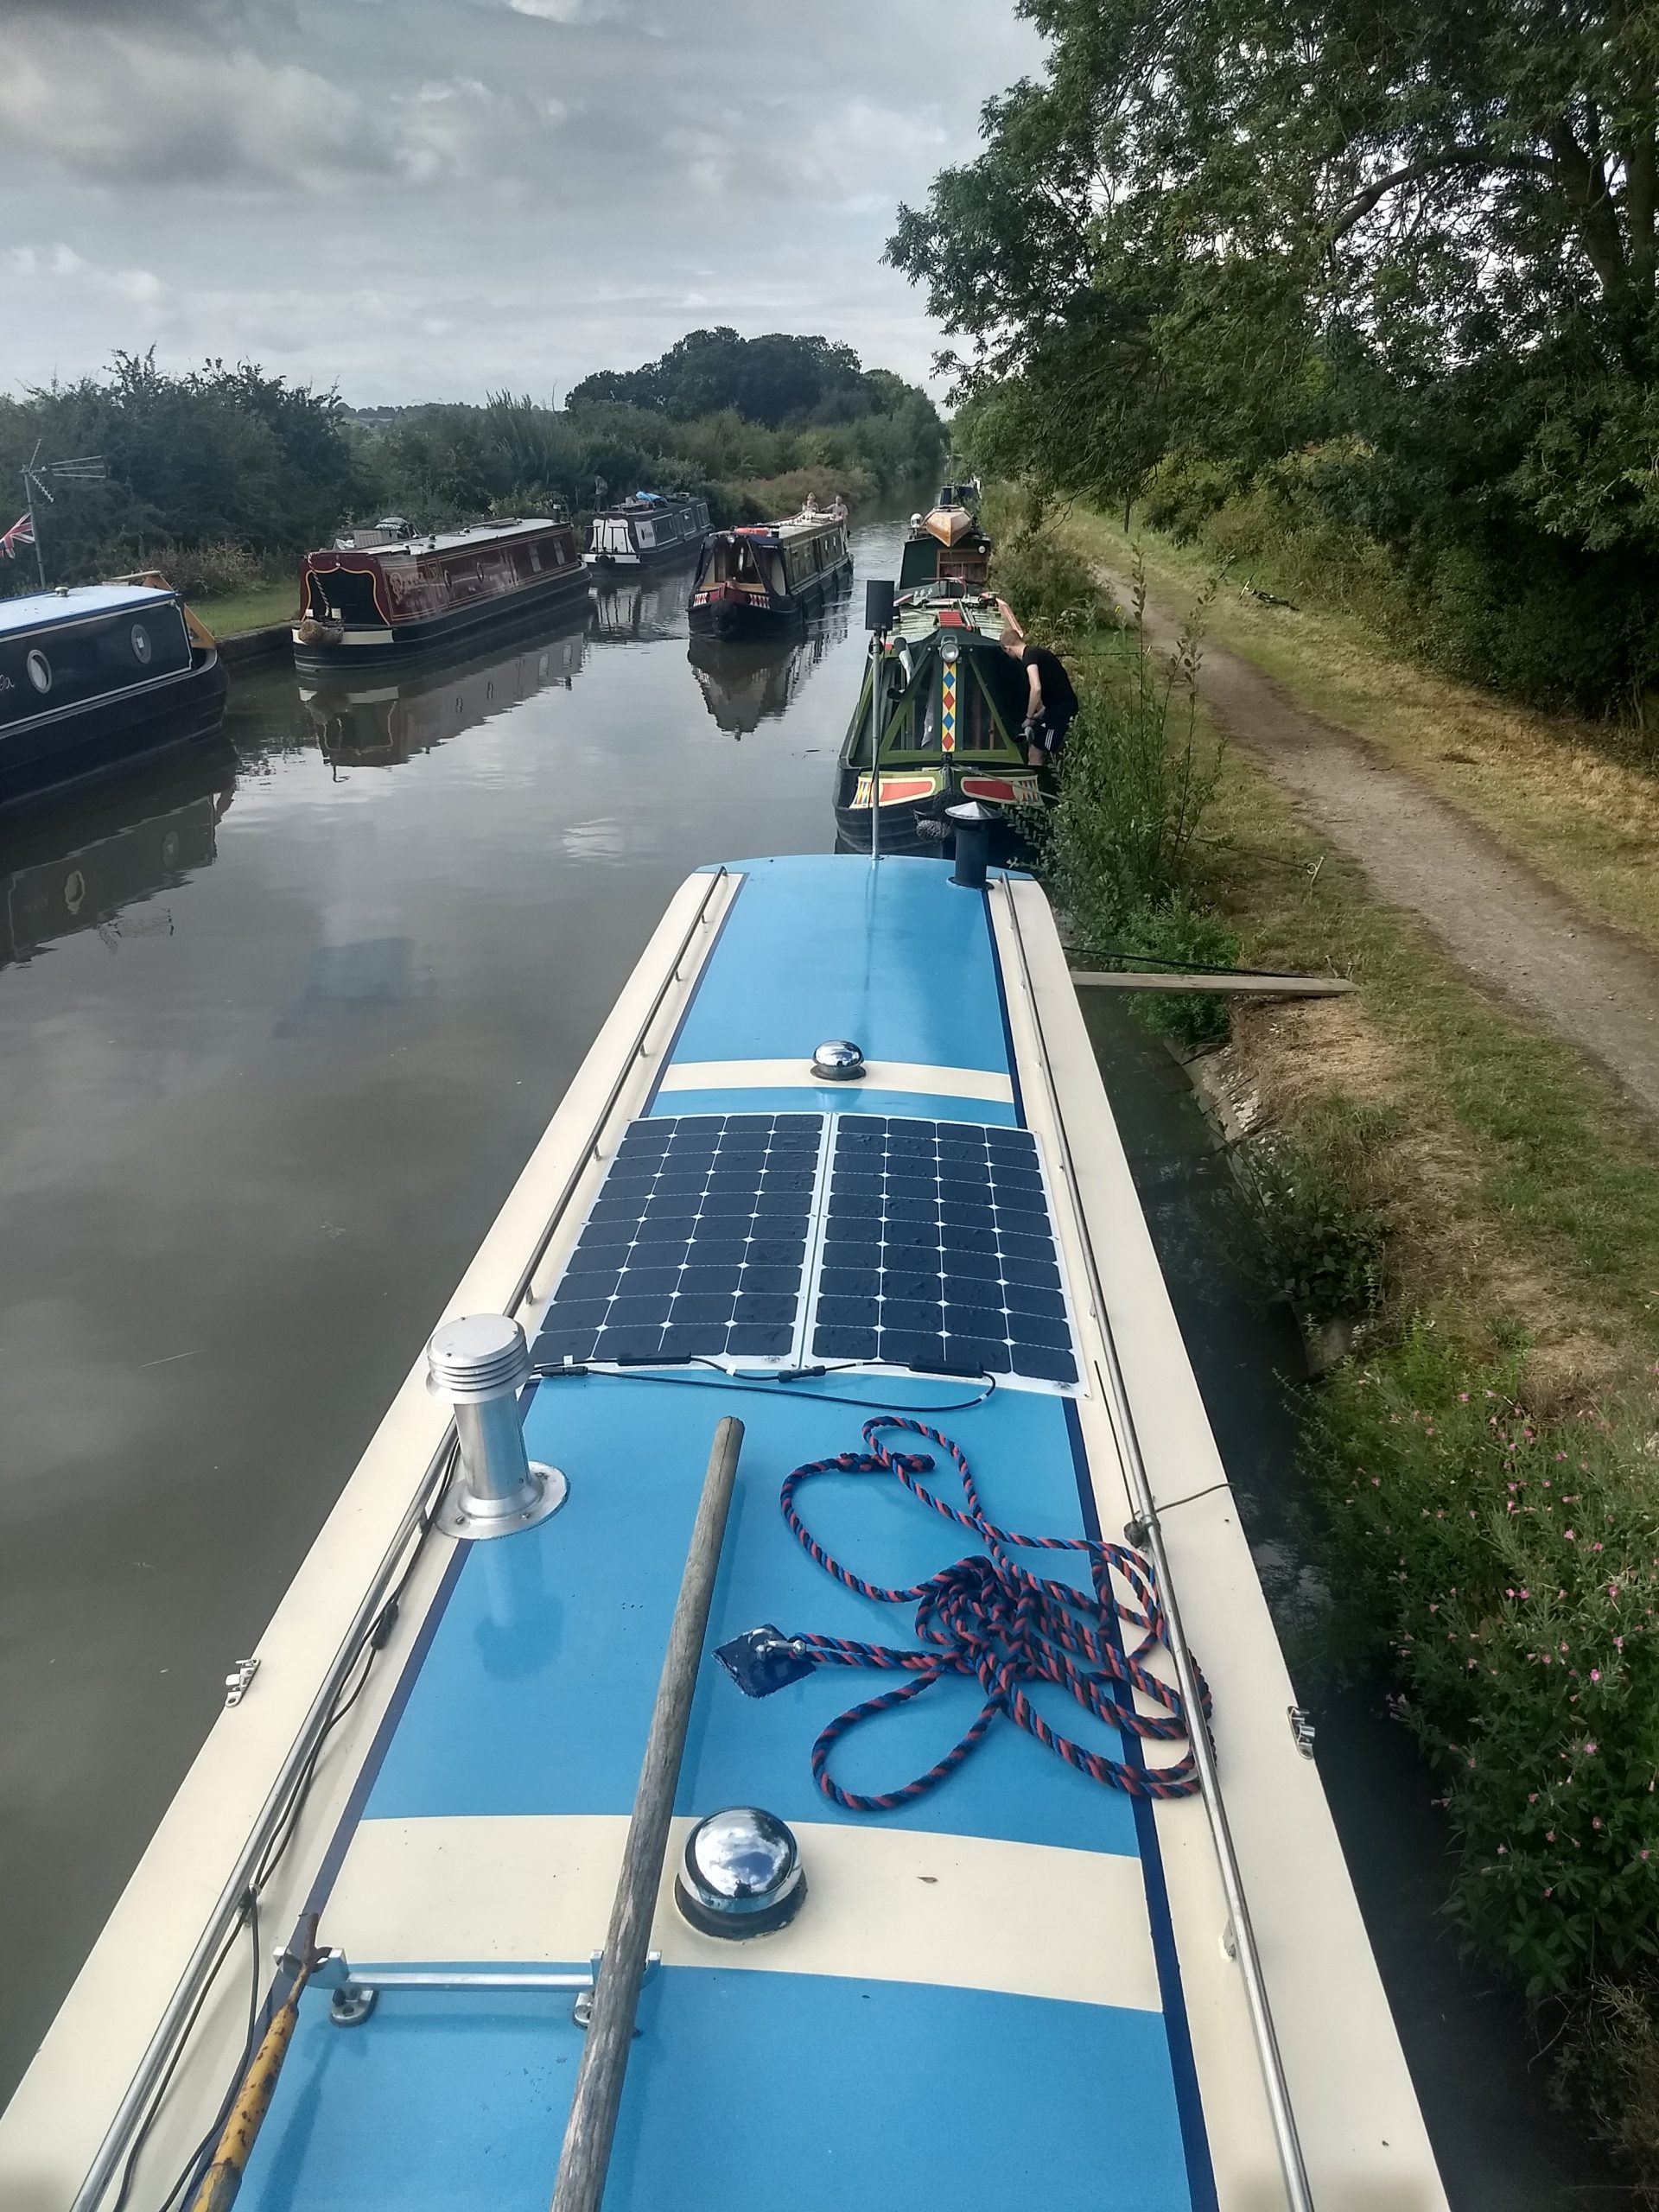
I chose flexible because as a solo boater, I spend a lot of time traversing the roof. Also, I preferred the look of them.
Output: Output is measured in watts. Before you buy anything, you need to have a clear idea about what your energy needs are going to be. There are many of these on the ‘net.
I used the Bimble one, purely because it has the functionality for different appliances on a 12volt system. Some of the others you might find if you do a search on Google are 240v. This is 12 volt solar, and we need a 12 volt solar calculator.
Also, it has suggestions specific to narrowboats, so, is more useful than other solar calculators I’ve used.

Cost: One of the main considerations is fitting your requirements to cost. Kits range from about £200-£2,000.
I’d always recommend buying the best solar system you can afford.
The main contributing factors to cost would be the panels themselves and the controller.
Rigid solar panels are cheaper than flexible panels, due to the evolving technology.
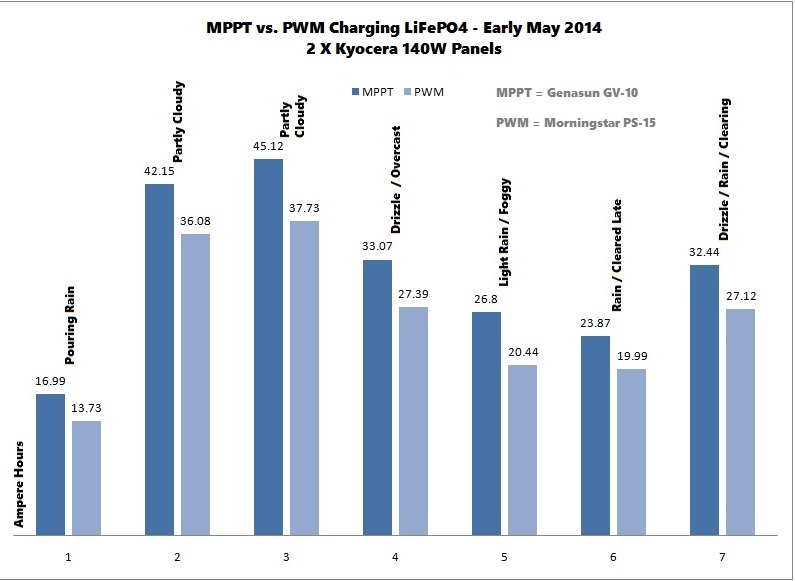
MPPT (Maximum Power Point Tracking) is more expensive than PWM (Pulse Width Modulation ), but we’ll get into that later.
Continuous cruising vs leisure.
Leisure boaters are going to be running their engines on a fairly regular basis, usually daily to move around the place and operate the boat for that purpose. That’s going to charge the batteries up and provide power so long as you run for at least two hours per day.
For continuous cruising livaboards, this requirement is going to be greater. Ideally you want to be starting your boat as little as possible. Your panels may only be operating at 20% in the winter. Due to this greater requirement, you’re going to factor in a greater surplus. This will ensure a more constant supply.
The Bimble solar calculator has some suggestions for factoring in and allowing for the different weather conditions during the summer and winter.
Step by step guide to fitting solar panels
With my solar kit, I have the following items:
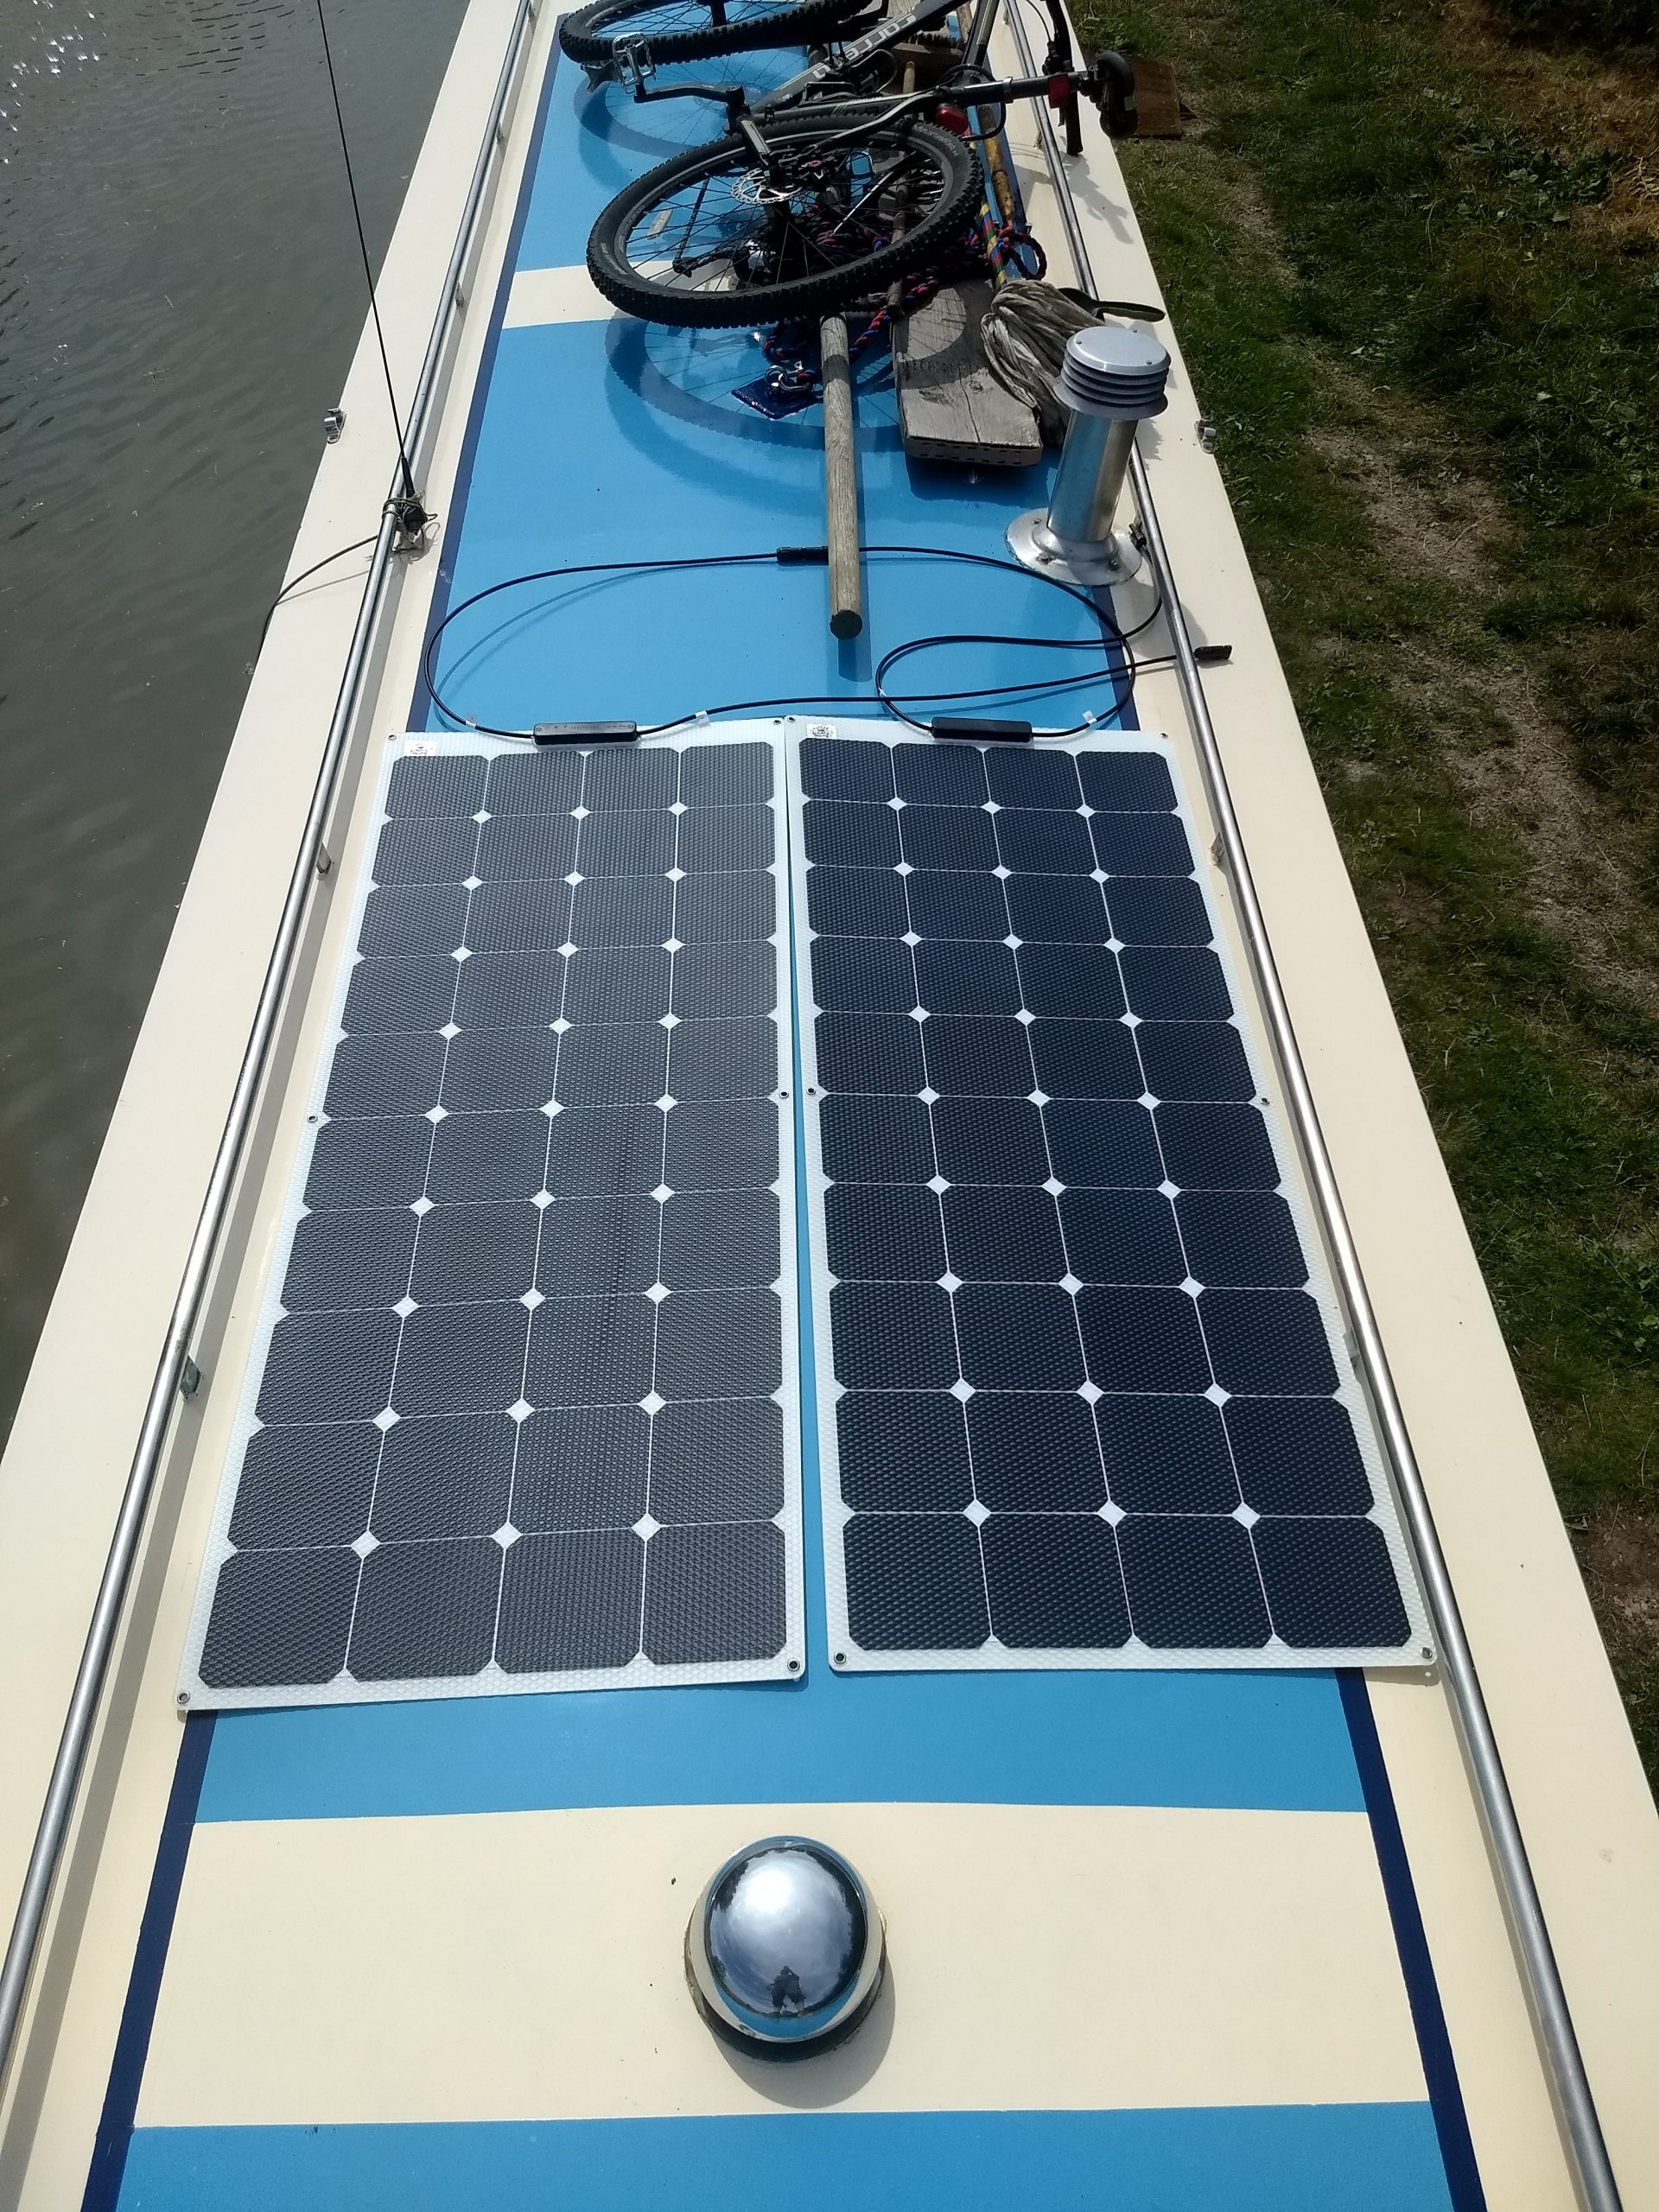
 | 145W Semi flexible Monocrystaline Solar Panels – Sunpower E20 cells – Stick down | 2 |
| 30A 12v/24v MPPT charge Controller – New Model Tracer 3215BN | 1 |
| MT50 MPPT Display meter for New Tracer BN CN Charge Controllers 10a 20a 30a 40a | 1 |
| MC4 6mm Solar Cable 10 meter | 1 |
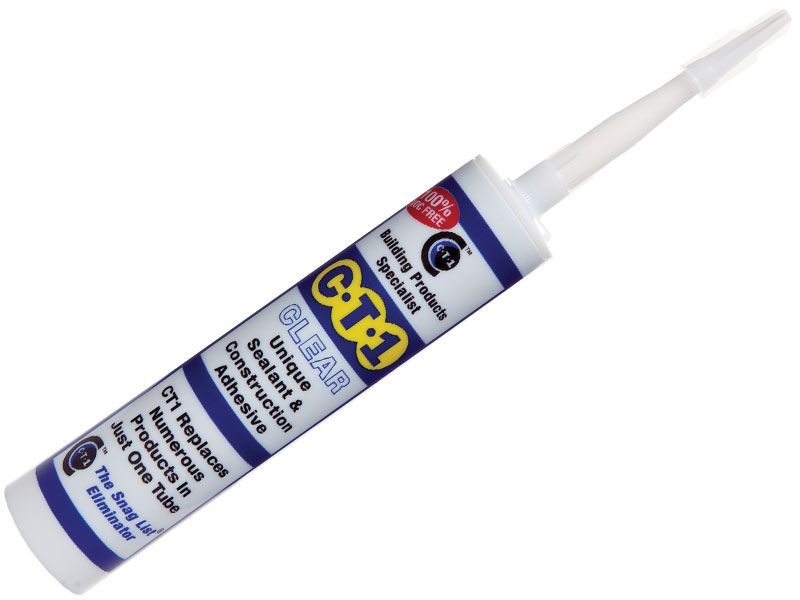
| BLACK CT1 Sealant & adhesive – Bonds everything, Works Underwater – 290ml | 1 |
| Cable Gland Entry box with 2 glands – Male Compression Glands | 1 |
| 32A DC DIN Mount Breaker 125V MCB C curve | 1 |
| DIN mount rail 35mm 10cm long for DC or AC Breakers | 1 |
I’ve recorded a video.
Before I decided to install the panels myself, I watched a few of these to see what was involved.
This goes through the steps below toward a successful installation. Enjoy and share with your friends!
Step 1: Fit the MPPT controller
Your cables are going to run to and from this device.
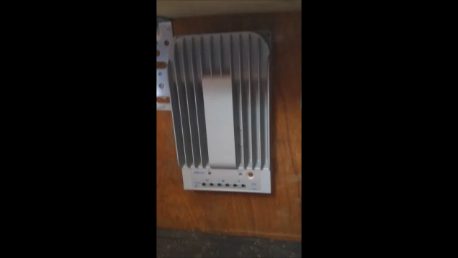
1.1 Mount the controller: It needs to be fitted somewhere with a reasonable amount of ventilation, although I had mine sat on the floor when I was testing it and it didn’t seem to warm up at all. That was in 30° sunlight.
Under the stairs is at the rear, close to the engine room.
There is an existing fuse box here. The cables pass from here into the engine room.
It seemed like the logical place to put it, so I’ve located it under the steps along with the other electrical apparatus.
Not included in the package, is the battery wire. This takes the charge from your controller to the battery.
10mm² cross section cable is the recommended size for the 3215BN. I need 6m, from Midland Chandlers in Braunston.
1.2 Connect the batteries: Firstly to the fuse provided, (32A DC DIN Mount Breaker), then to the controller.
Turn the electrics off at the circuit breakers.
I ran a line from my busbars along and in through the existing hole in the cabin.
1.3 Connecting the fuse: If you have an existing rail, you can place the fuse on that. If not, Bimble provide a rail.
They recommend 150mm from the battery. None of my existing fuses are 150mm from the batteries, so I’ve put it in with them.
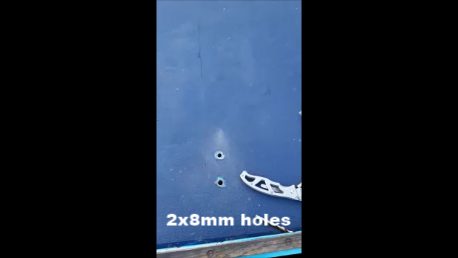
2. Drill the holes in the roof
Ready for the MC4 solar cable.
The cable I had supplied was 6mm². That meant the holes in the boat’s roof needed to be around 7-8 to fit comfortably.
Some people may be squeamish about drilling holes in their boat’s roof.
It’s not a job for the faint hearted. Ear plugs are recommended.
All in all, I think it took me nearly an hour to drill 2 small holes; that’s putting a lot of pressure on the drill and allowing it time to cool off, putting oil on the drill bit, wiping away the steel shavings and all the rest of it.
3. Set up remote meter (MT-50):
Once you’re happy that the positive and negative terminals are correctly fitted to the MPPT controller, (this is important because your unit will explode if you connect it wrong), you can turn it on and the display should light up, and in the case of the MT-50, give you some information about the battery.
I had to scroll through the settings and make some adjustments for the set-up on my boat.
I have 4 120ah Gel batteries. This is important as different types of batteries have different charging dynamics.
There’s a manual for the MT-50 Control Meter here.
4. Measure, cut, crimp and fit MC4 connectors to solar cable
Not a stage you want to get wrong. Measure twice, cut once as the saying goes.
You’re going to need this
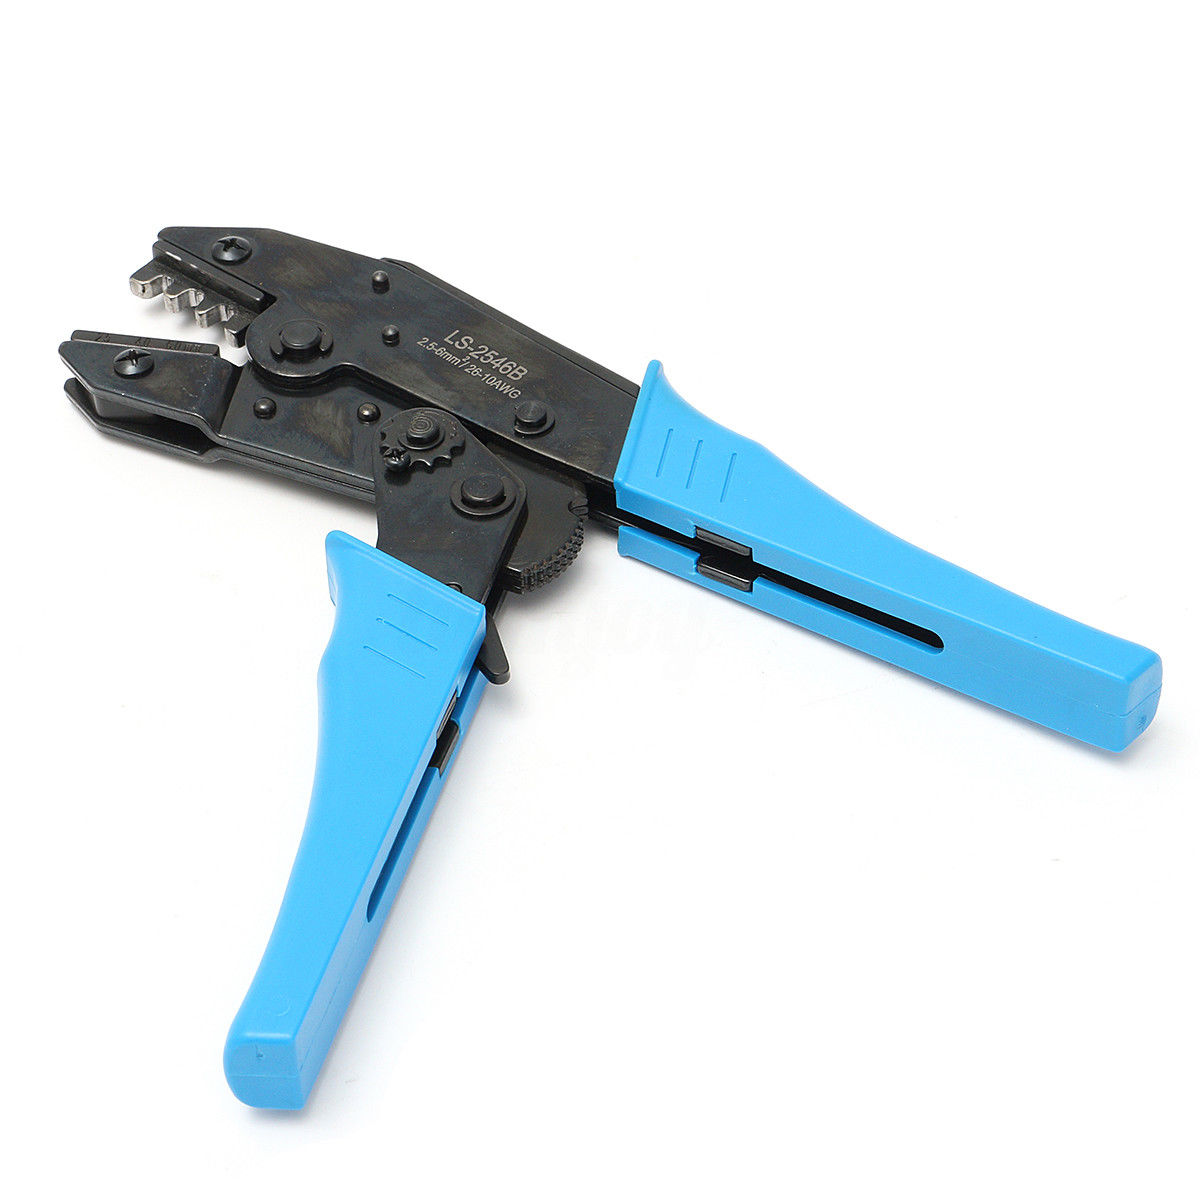
Set of crimpers. The male and female have shielded contact pins that sit within the MC4 connectors.
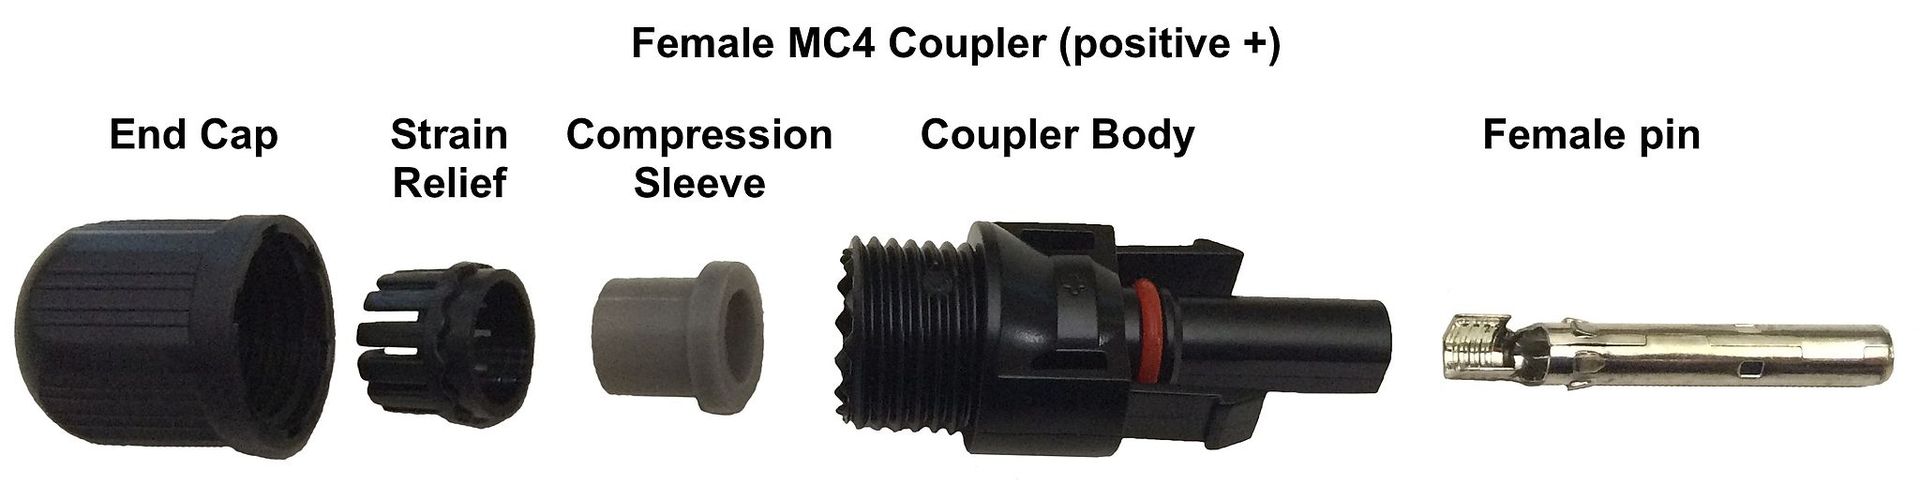
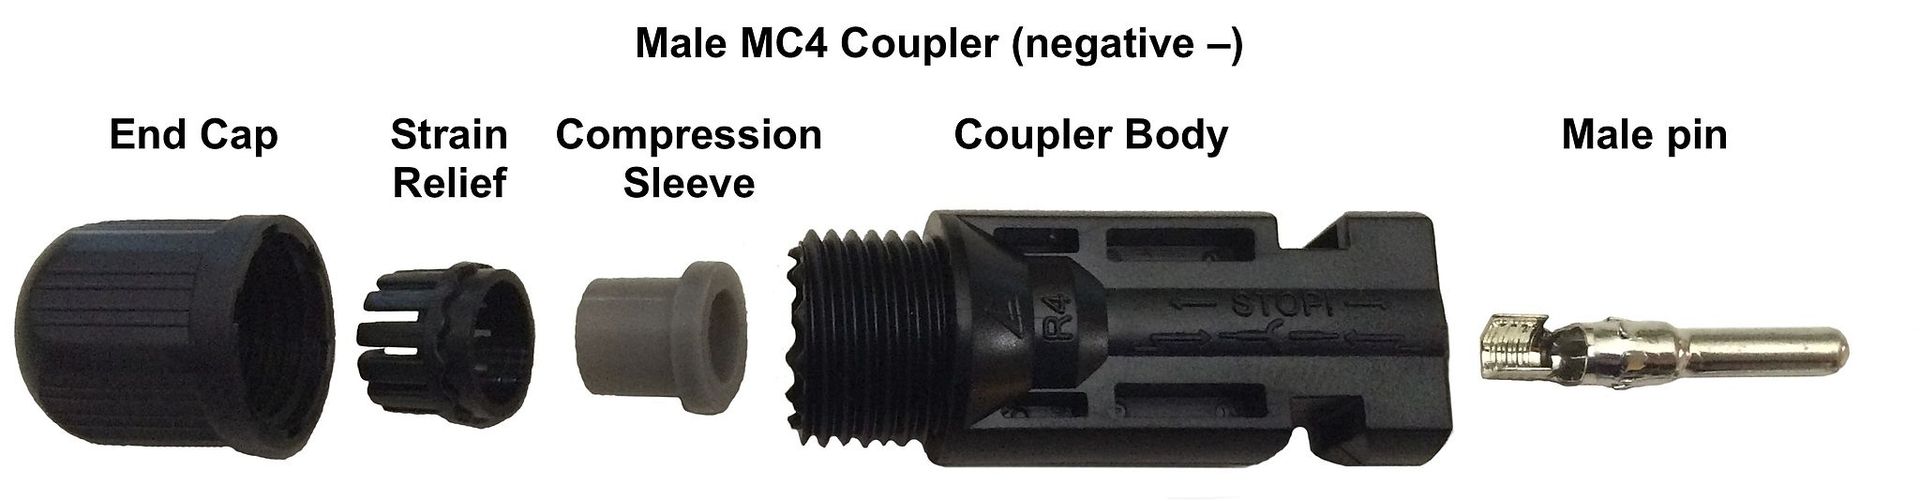
Measure the cable from the gland to the solar panel. Ensuring that the cable is the correct length. You neither want excess cable, nor for it to be too short. Take into account the length of the pins, then cut.
Crimp your contacts and tighten your endcap.
Renogy have done a video about it Fitting MC4 Connectors which will show you the process in more detail.
The tightening of the endcap also has a tool. It looks like this.

If you’re careful, you can get away without using these. My MC4 connectors didn’t need much tightening, and were fairly easy to screw down manually.
5. Attach the panels to the roof
Like I said on the video. I let the panels sit for a couple of days before I attached them to the roof.
This ensured that I was happy with the entire set-up before sticking them down.
Sticking them down is a two man job.
Prior to placing them, I had the following check list.
- Position: Have the panels in the best position and have the position marked.
- Cables: Ensure all cables are of correct length.
- Clean: Make sure the roof is clean and adherent surfaces are free from anything that will prevent bonding.
Once that is done, I and my partner, applied the CT-1 which was supplied with the kit.
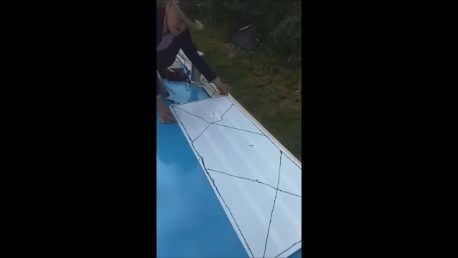
to the back of the panels. Gently lifted them placed them in the spots I had chosen.
We sat on the backs of the panels for about 2/3 minutes.
CT-1 is pretty strong bonding polymer. 2/3 Minutes was ample time and the panels bonded strongly.
To finish off
The cable needs some CONDUIT to case it in and neaten it up a little. But that’s a job for another day…
Connecting solar panels in Parallel
Also, despite the advice given by Bimble Solar, the panels work SUBSTANTIALLY better when connected in PARALLEL.
To connect solar panels in PARALLEL, you’re going to need some THREE WAY SPLITTERS.
Ebay is your friend here. Three way splitters.
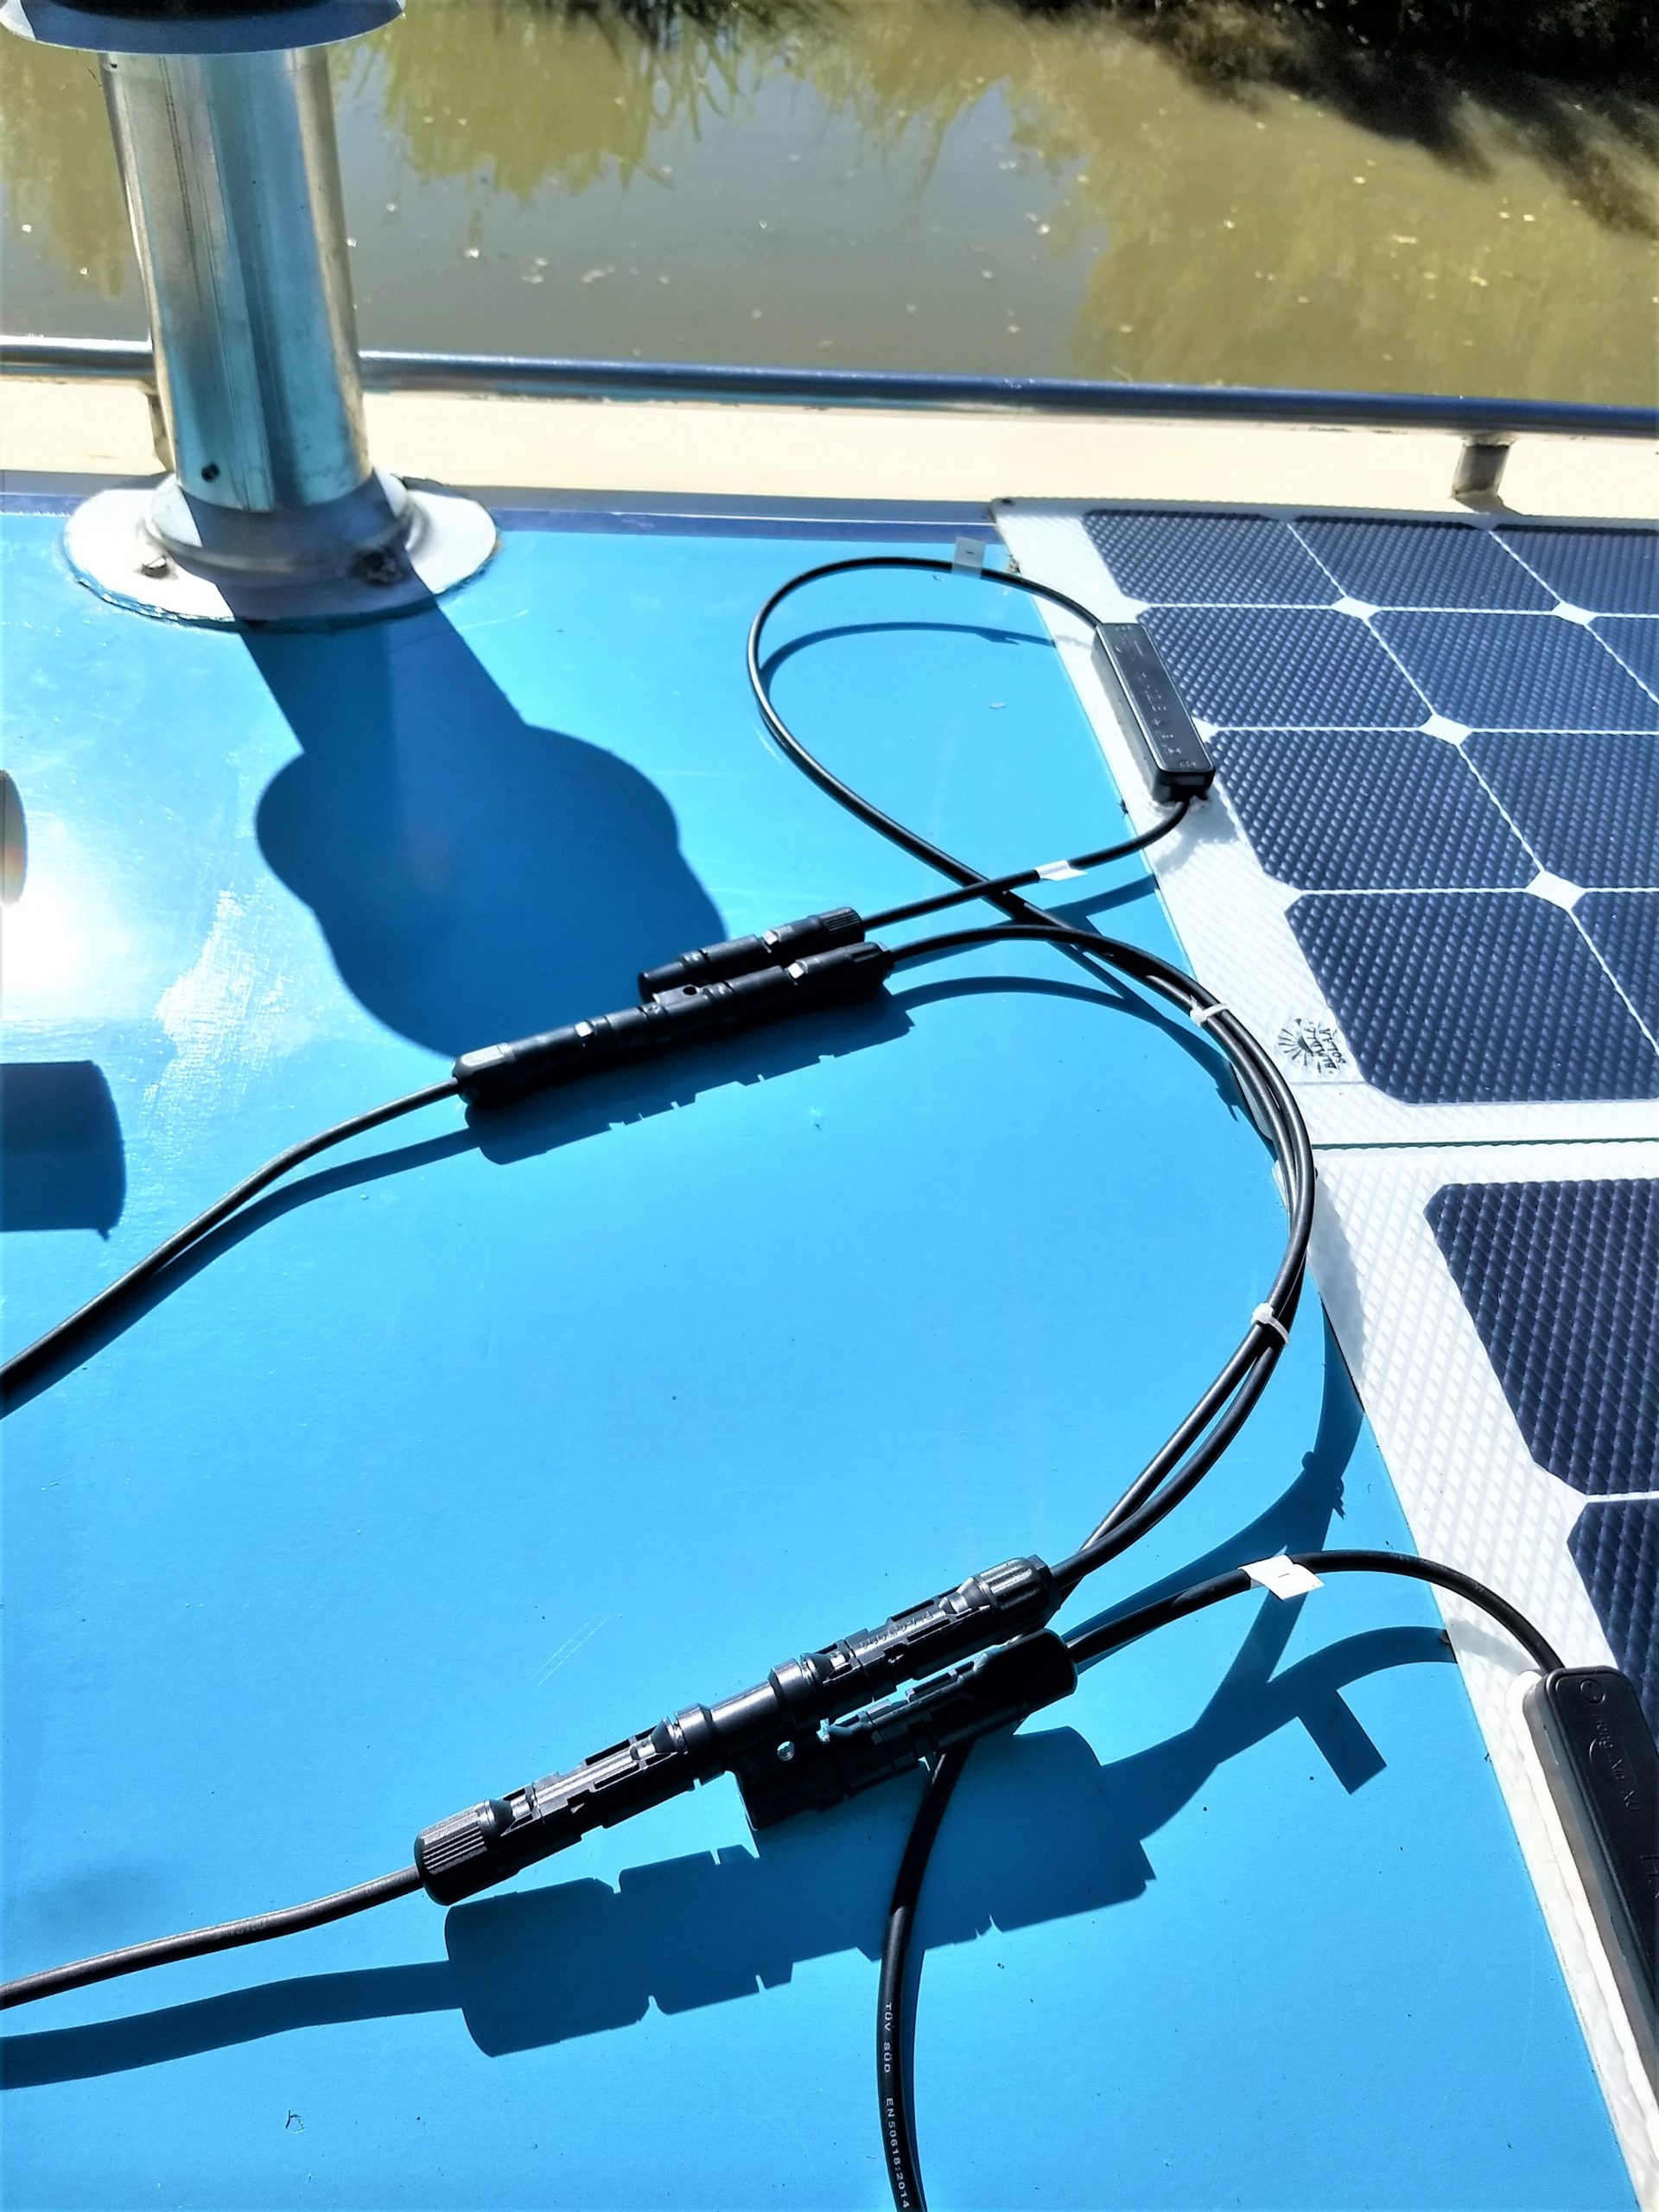
Each panel will function independently and feed the battery independently.
Connecting solar panels in parallel reduces the joint voltage output and increases the ampage output in theory giving the same amount of charge.
Websites that sell solar panels for narrowboats
Solar panel supplier |
||
| https://www.cityplumbing.co.uk/ | City Plumbing | National supplier of household improvements. Offer a range of solar panels. |
| http://loryanmr.com/ | Loryan Micro Renewables | Based in Staffordshire. LG rigid panels, offering installation as part of kits. |
| https://midsummerenergy.co.uk/ | Midsummer Energy | Selection of flexible and rigid solar kits using Victron controllers. |
| https://www.bimblesolar.com/ | Bimble Solar | Wide and comprehensive range of kits and accessories, guides and information ‘off grid’ solar systems. |
| http://www.photonicuniverse.com/ | Photonic Universe | Selection of solar panel kits and accessories. |
| http://www.onboardsolar.co.uk/ | Onboard solar | Fits ready made kits of various different sizes. All kits are rigid panels, and doesn’t fit panels from other suppliers. |
| https://sunworks.co.uk/ | Sunworks | Lots of help and advice for off-grid solar seekers. Sunworks supply a range of panels and kits and a regularly updated blog. |
Related Reading

Over the course of the last few weeks, I’ve been planning to upgrade the electrics of Bonnie Lady narrowboat. One of the first jobs has...

In the 1990’s, a political scientist named Stanley Feldman developed a set of four very simple questions to related to parenting to test the level...

A hiking trip for Mount Rinjani in Lombok

Top 14 tips for Amazon Flex drivers (UK). Map of Amazon Flex depots. Amazon Flex contract for drivers.

60+ mysterious deaths of high powered bankers from 2008 - 2024
It certainly looks efficient. You’re right about the flexible ones – look better, much easier to get past and not going to catch the wind in these tempestuous times.
well done…the panels look really good on Bonnie’s roof. It should keep the fridge ticking over nicely.
How have the solar panels and the CT1 sealant stand to the heat during the summer or 2018
The CT1 sealant works pretty well for the solar panels. It’s industrial grade stuff.
I used it to stick a controller onto the back of my old RENOGY portable solar panel, and it did that well.
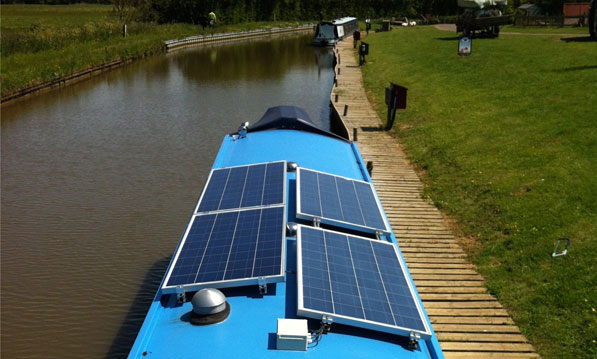
I have a similar setup, but because I was worried about water leaching in under the top edge I placed my panels at right angles to yours elimimating this concern.
I have concerns that gravel in caught in the treds of shoes could damage penels, so I left gaps between the panels (some forced by the location of mushroom vents) to allow me to step onto the gaps and the white edges of the panels.
After a year I added two more panels, but this time I used a paint roller to apply the CT1 glue and managed to sperad it like evenly like wallpaper paste helping to achive a much better seal than previously.