

** Update 23 April, 2025.**
Now nearly 4 years since I painted it last. Just an update, what I did that time previously I didn’t was left it to cure for 7 days. That is after the VACTAN was applied, it had 7 days to dry before I put the water back in.
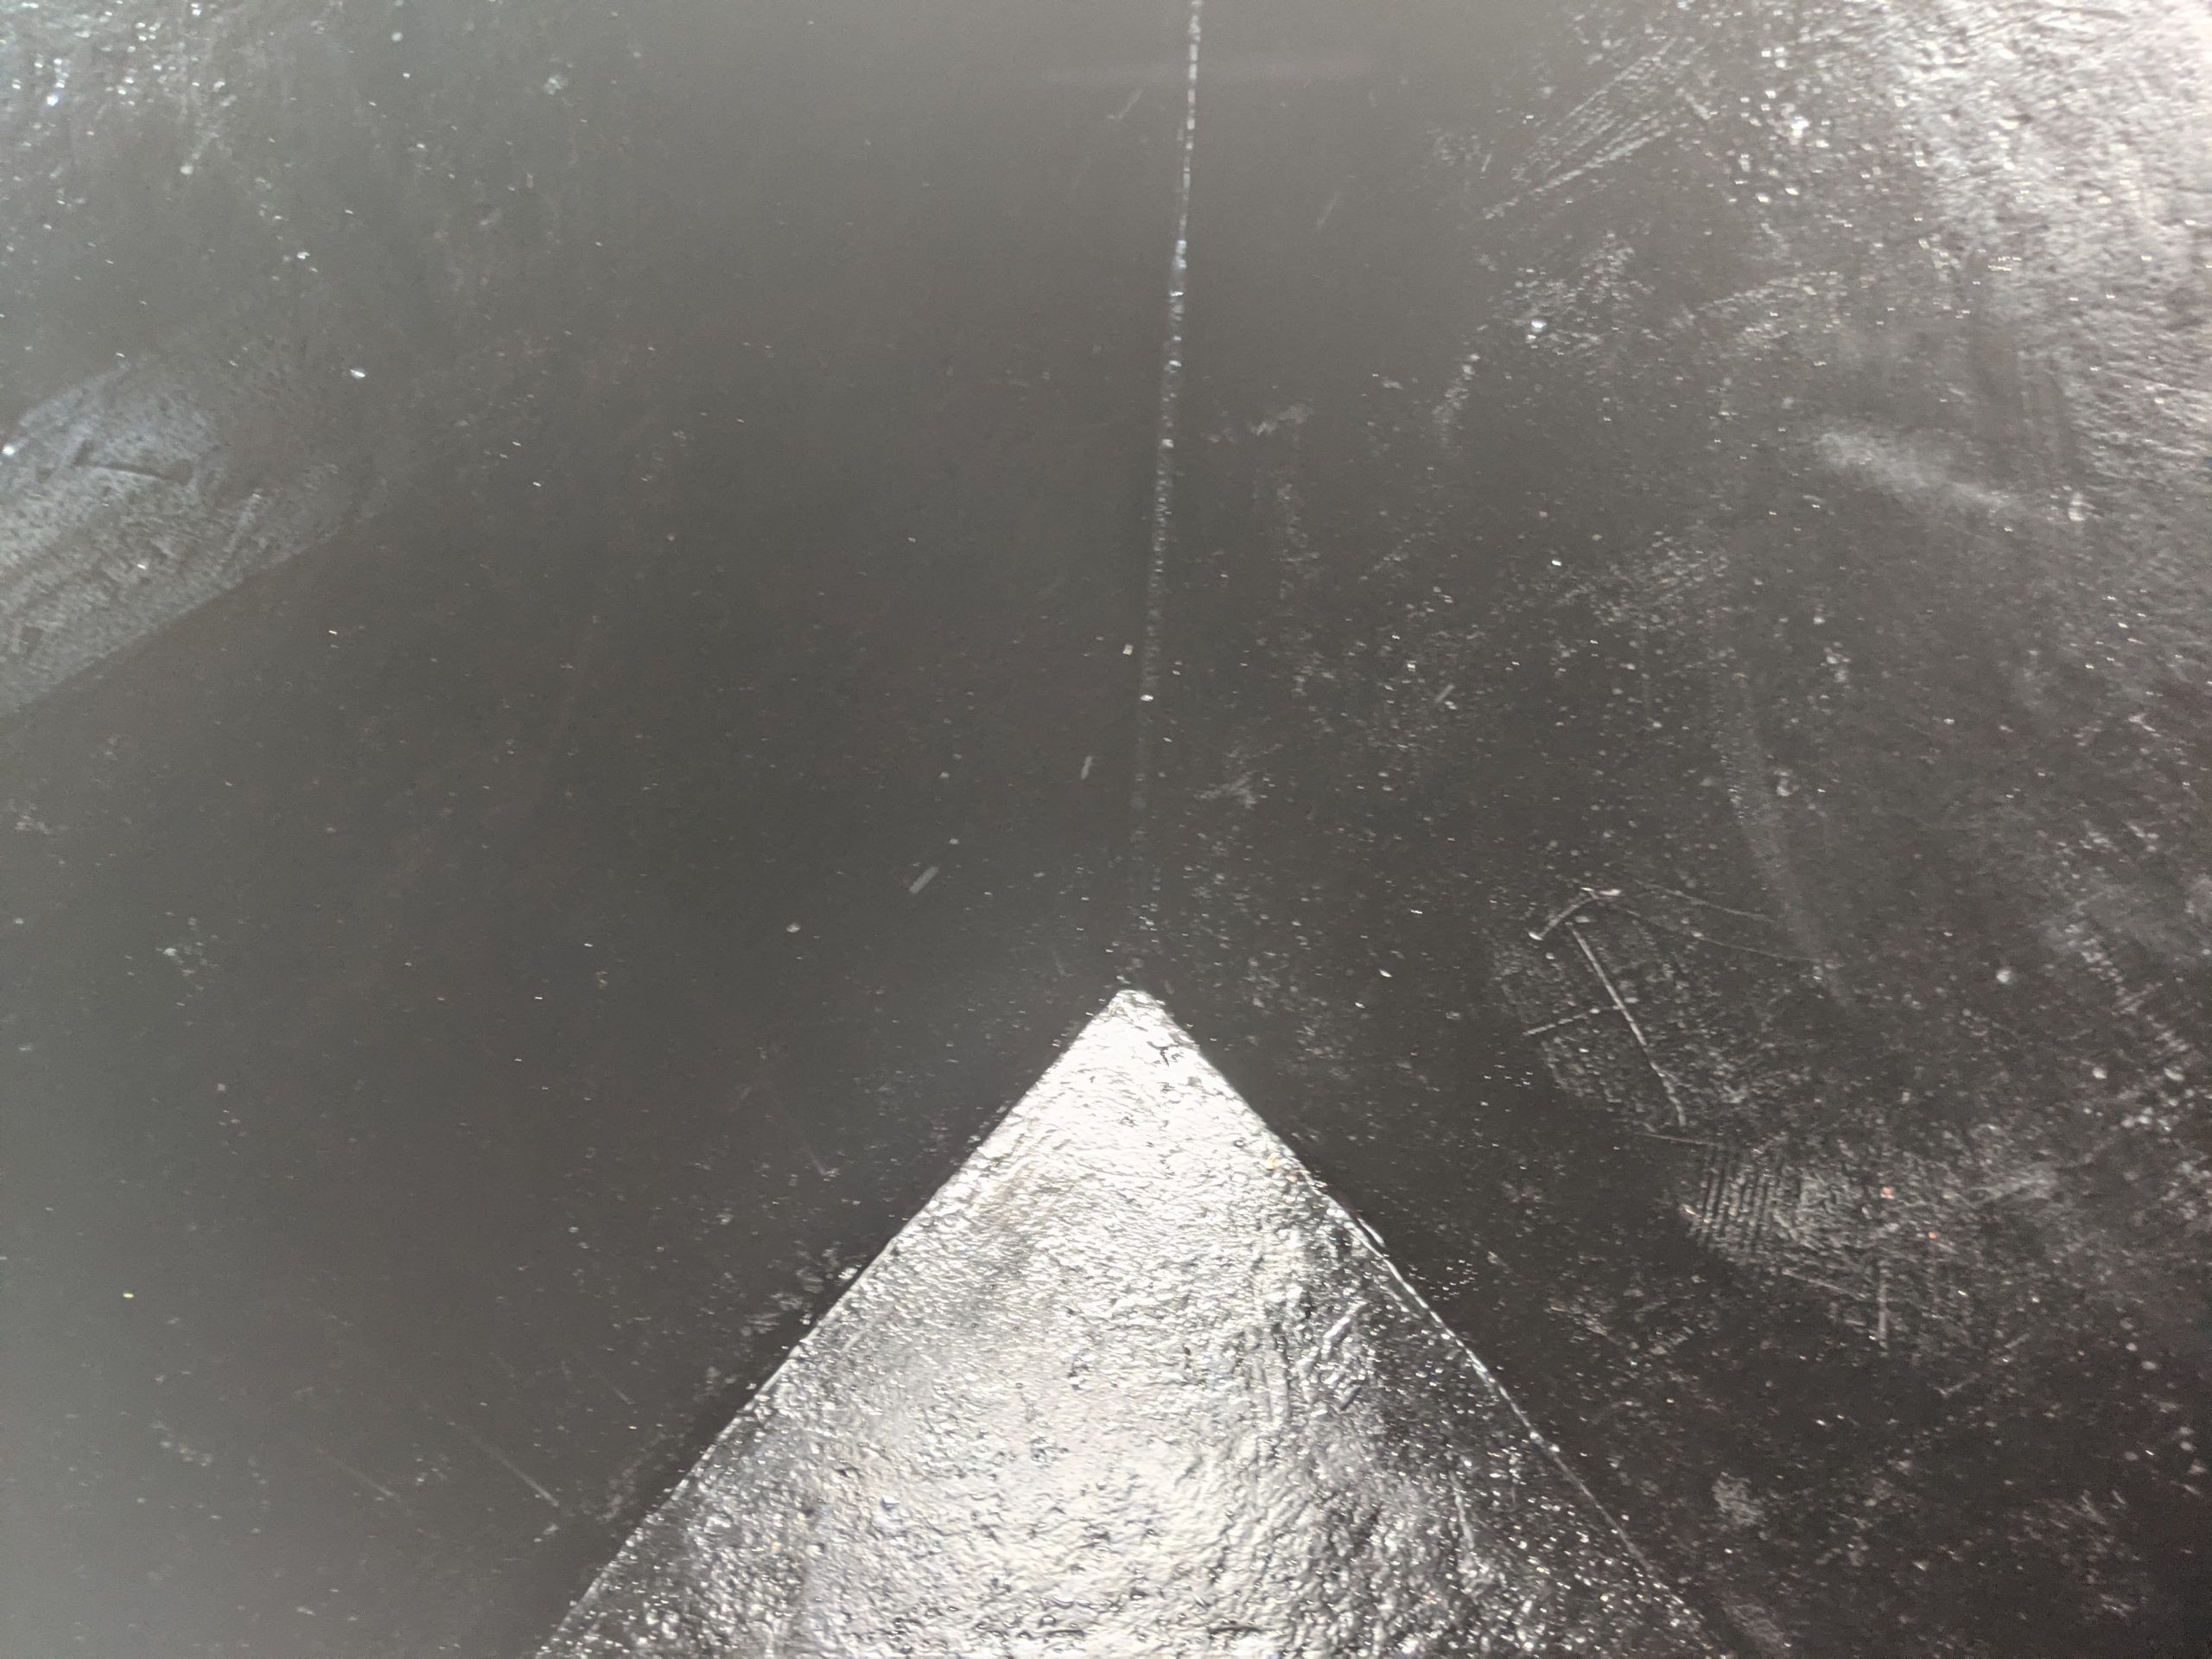
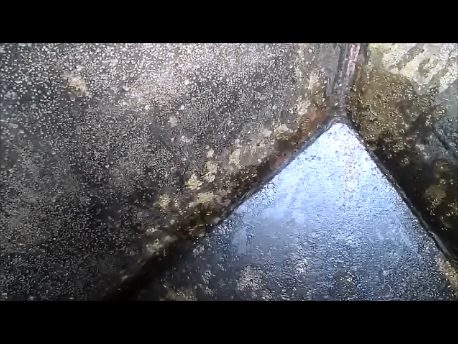
Here’s what it currently looks like.
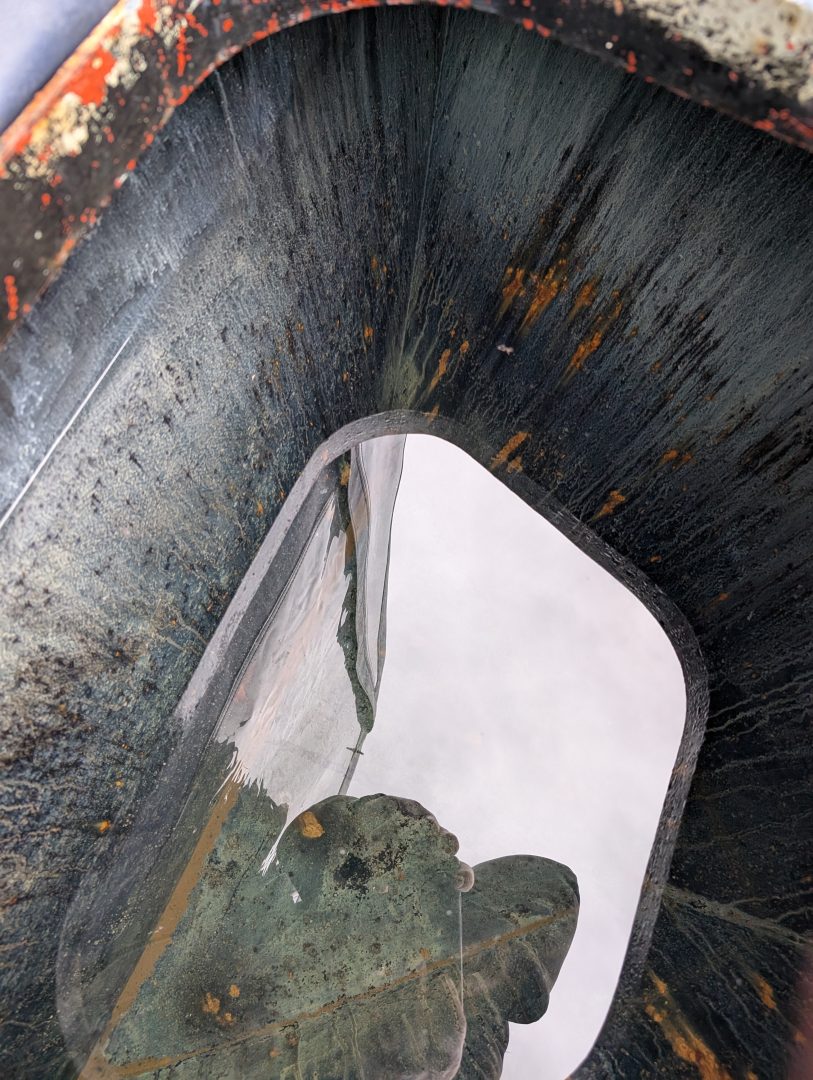
As you can see. There’s not a lot of rust. The water seems clear. If you wanted it potable from the tank, you’d have to do more, maybe get rid of the rust by giving it a few more coats every couple of years.
** Update 5th June, 2021.**
How long does Vactan last?
I’d say the last coat, (of Vactan), stopped working around 12 months ago. That’s around the summer of 2020, so it lasted around 2 years.
The symptoms of it stopping working were; flaking into the watertank, sinking to the bottom, and after some time, maybe a year, going into and clogging the waterpump filter.
That is: the very thin coating that is Vactan eventually flaked off, sometimes taking a coat of the Rylards beneath it, sometimes not, coming free from the sides of the tank and falling to the bottom…

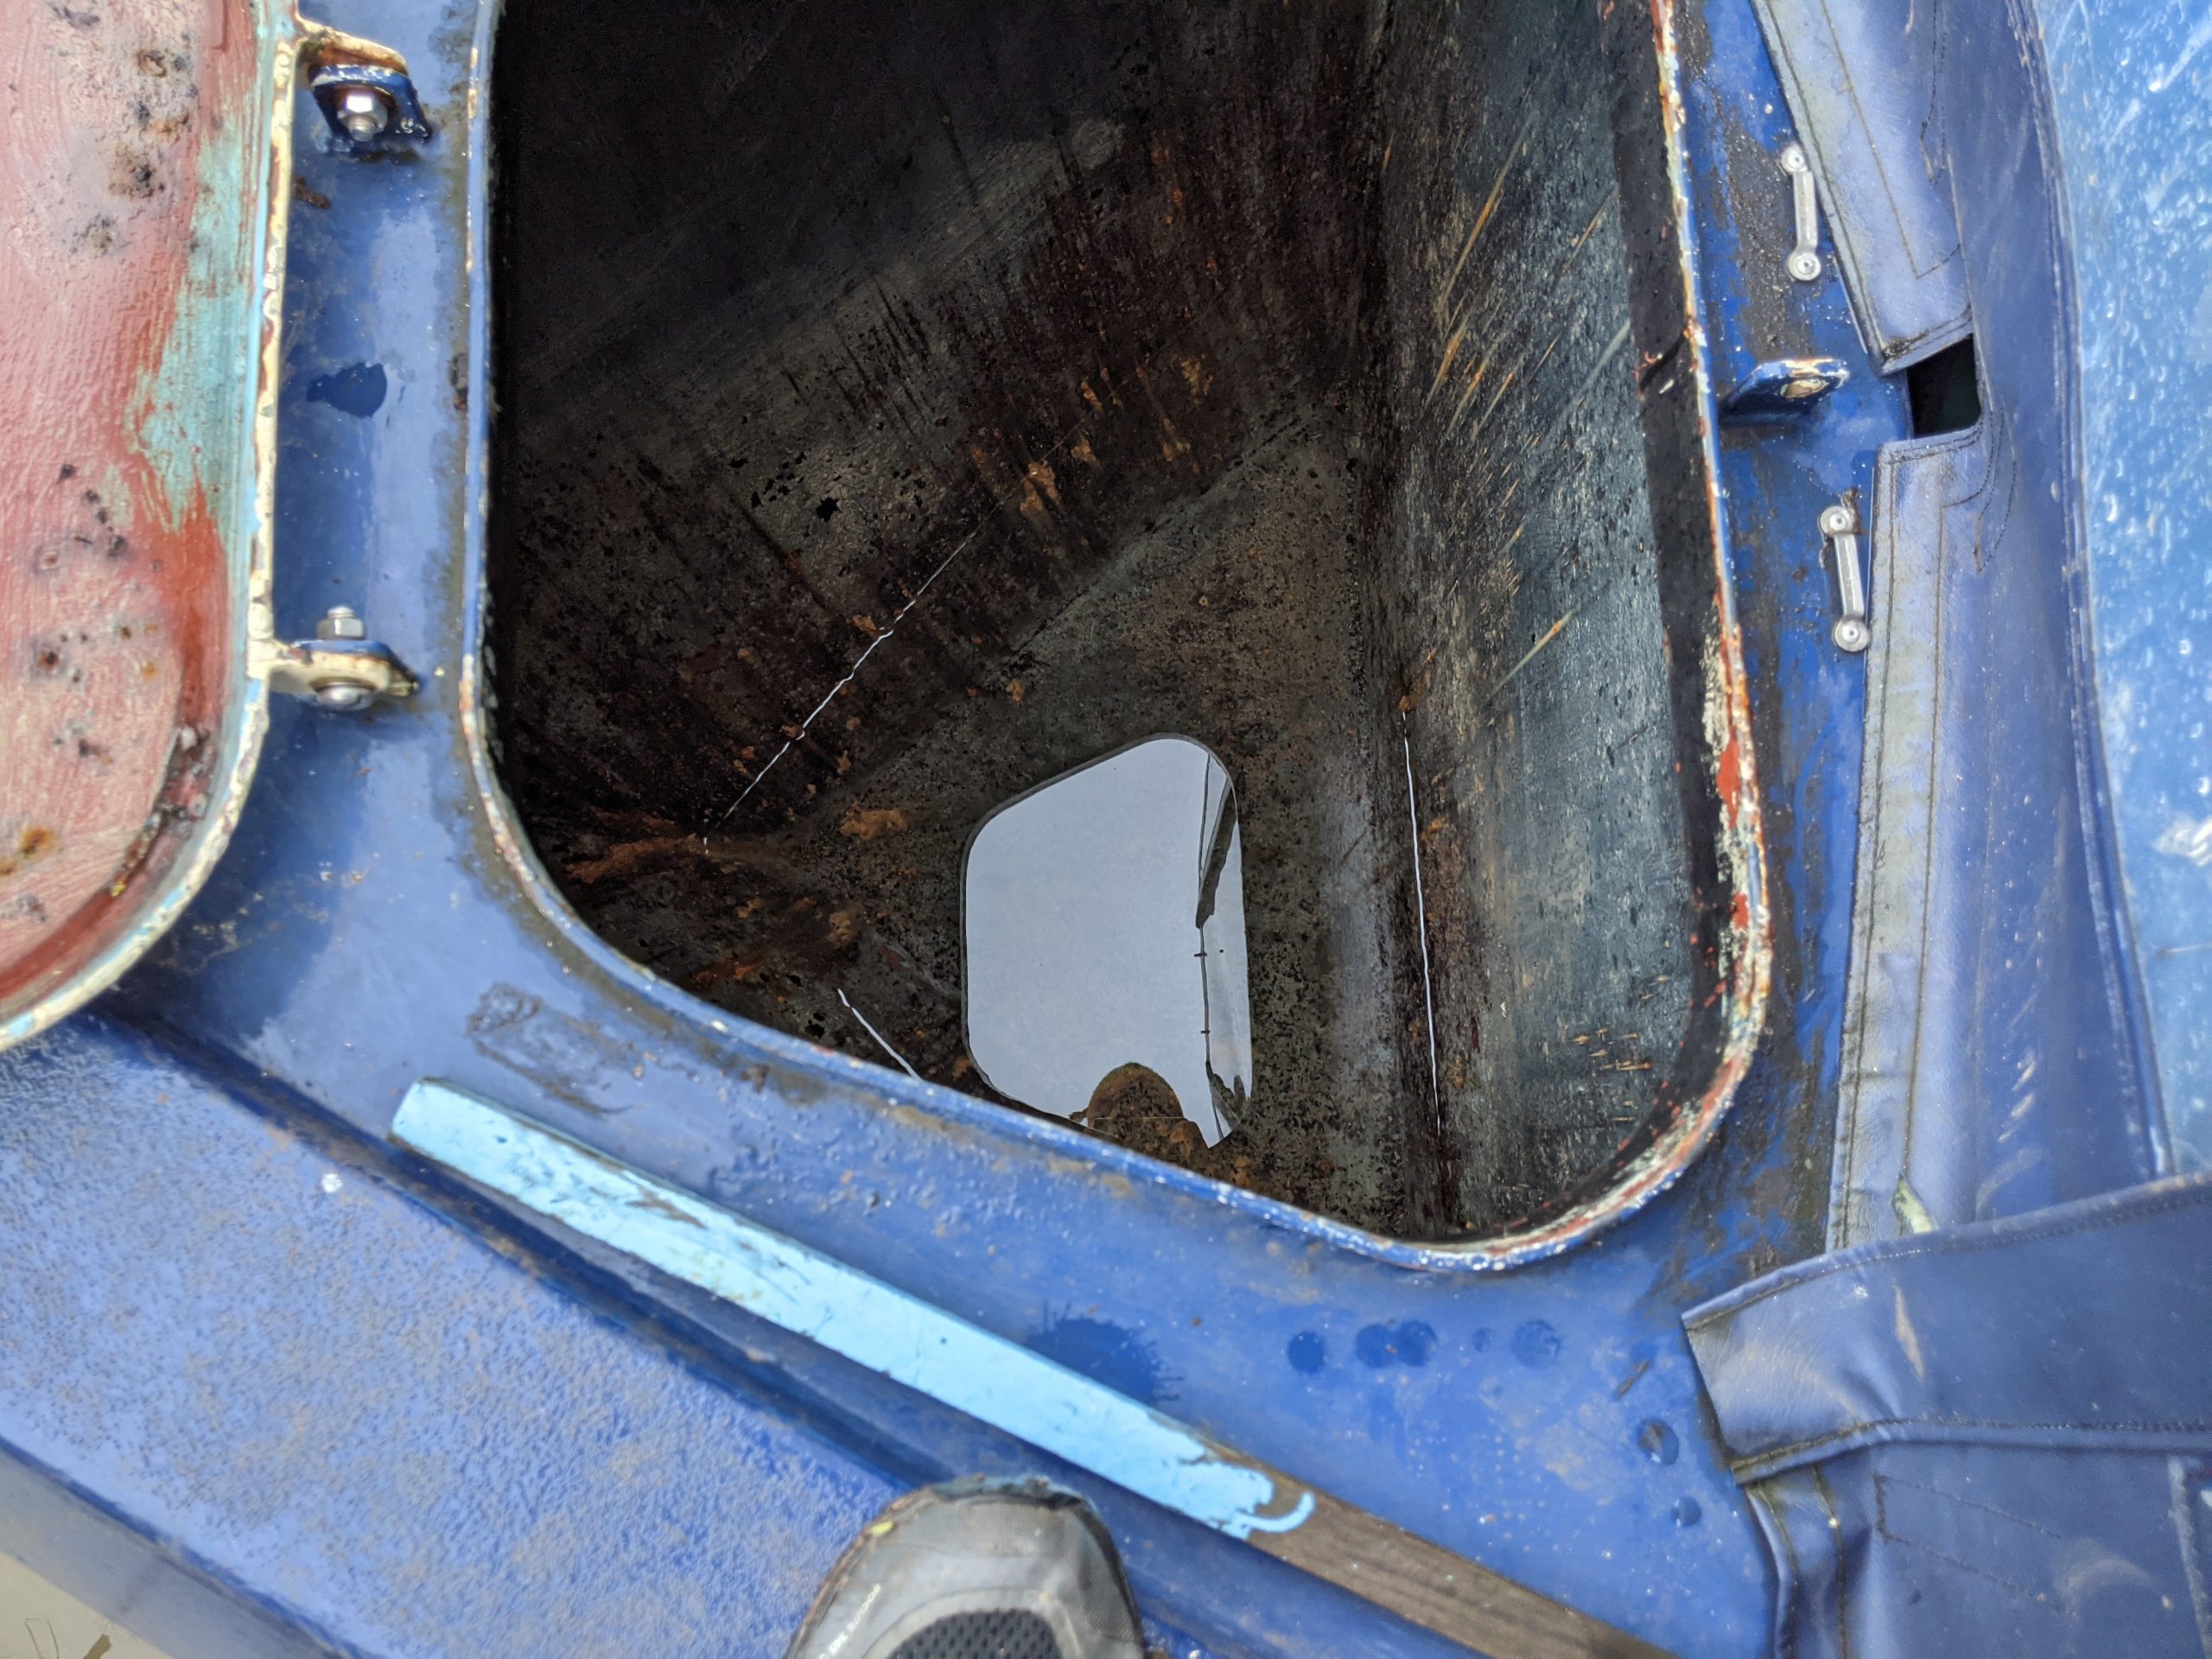
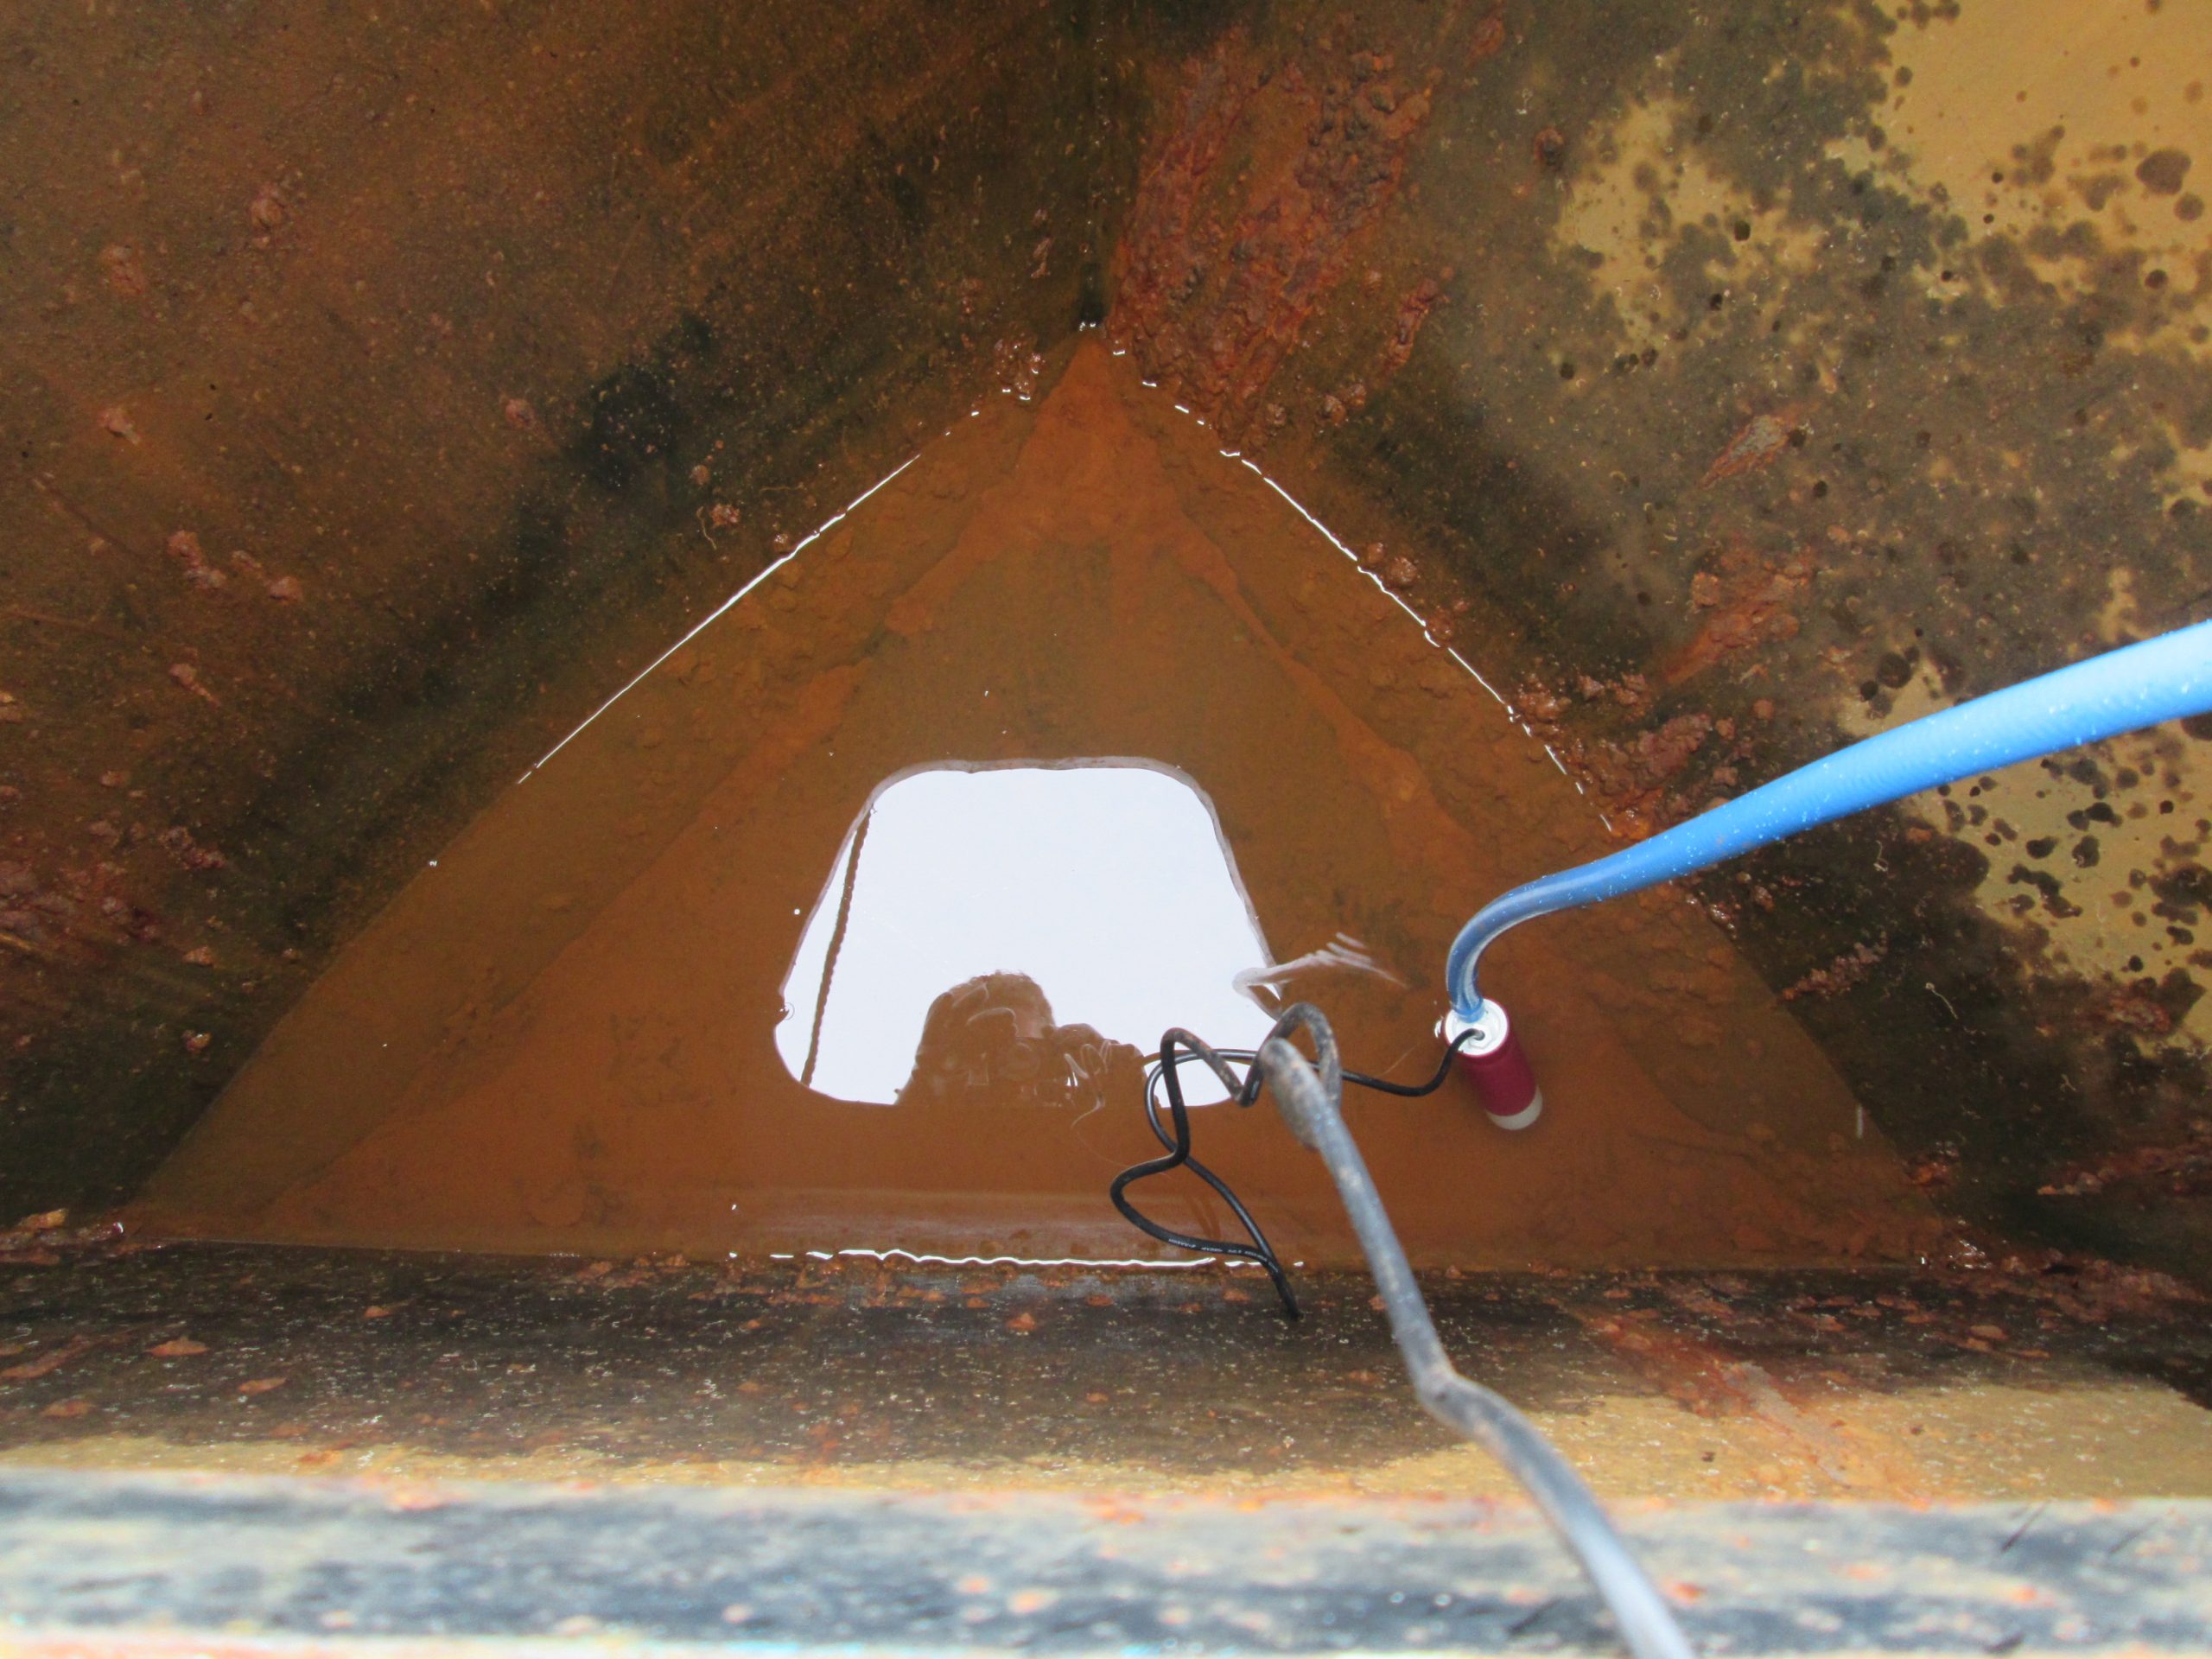
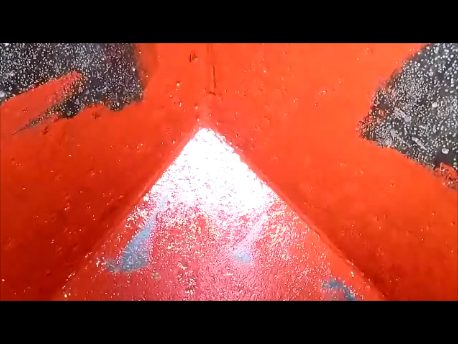
This is what the watertank looked like as I started work on it.
It’s a combination of the paints that I’ve talked about lower down in this post. As you can see, some of it has been flaked off, either by me going around with my
or come away over the course of time.
There isn’t much bare metal, nor is there a lot of the original iron oxide that I put on there to start with.
It took from the 27th July 2018 to get fully to this point. So 3 years.
Prep for a brighter better future (for your watertank)
In my case, the prepping is already done…
The majority of the paint remains intact on the layers beneath. To prep in this case, I need to remove the flaking paint. Then make sure the surface is good to receive another 2 coats of Vactan.
Doesn’t take long. Maybe an hour to get it all off.
Next, I gave it a bit of a rinse down, just with fresh water, and left it to dry overnight.

Apply the potable watertank paint – the watertank coating
In this case. Vactan.

In this case. I applied the first coat with a roller. Not mentioned as an option in the Vactan spec. sheet, but I thought I’d give it a try anyhow.
Didn’t give good results not in the application, which as you can see looks quite quick and easy. But, quick and easy often means crap. And this is one of those cases.
When I’d filled the tank up after it drying, the water from the tank through the taps was discoloured and useless.
Luckily, I had a 2L bottle which is more than enough for any narrowboat watertank, and I set about doing the second coat as recommended, by climbing into the tank and doing things that way.
So that’s what happened. I got right in there with my paintbrush and painted it all up.
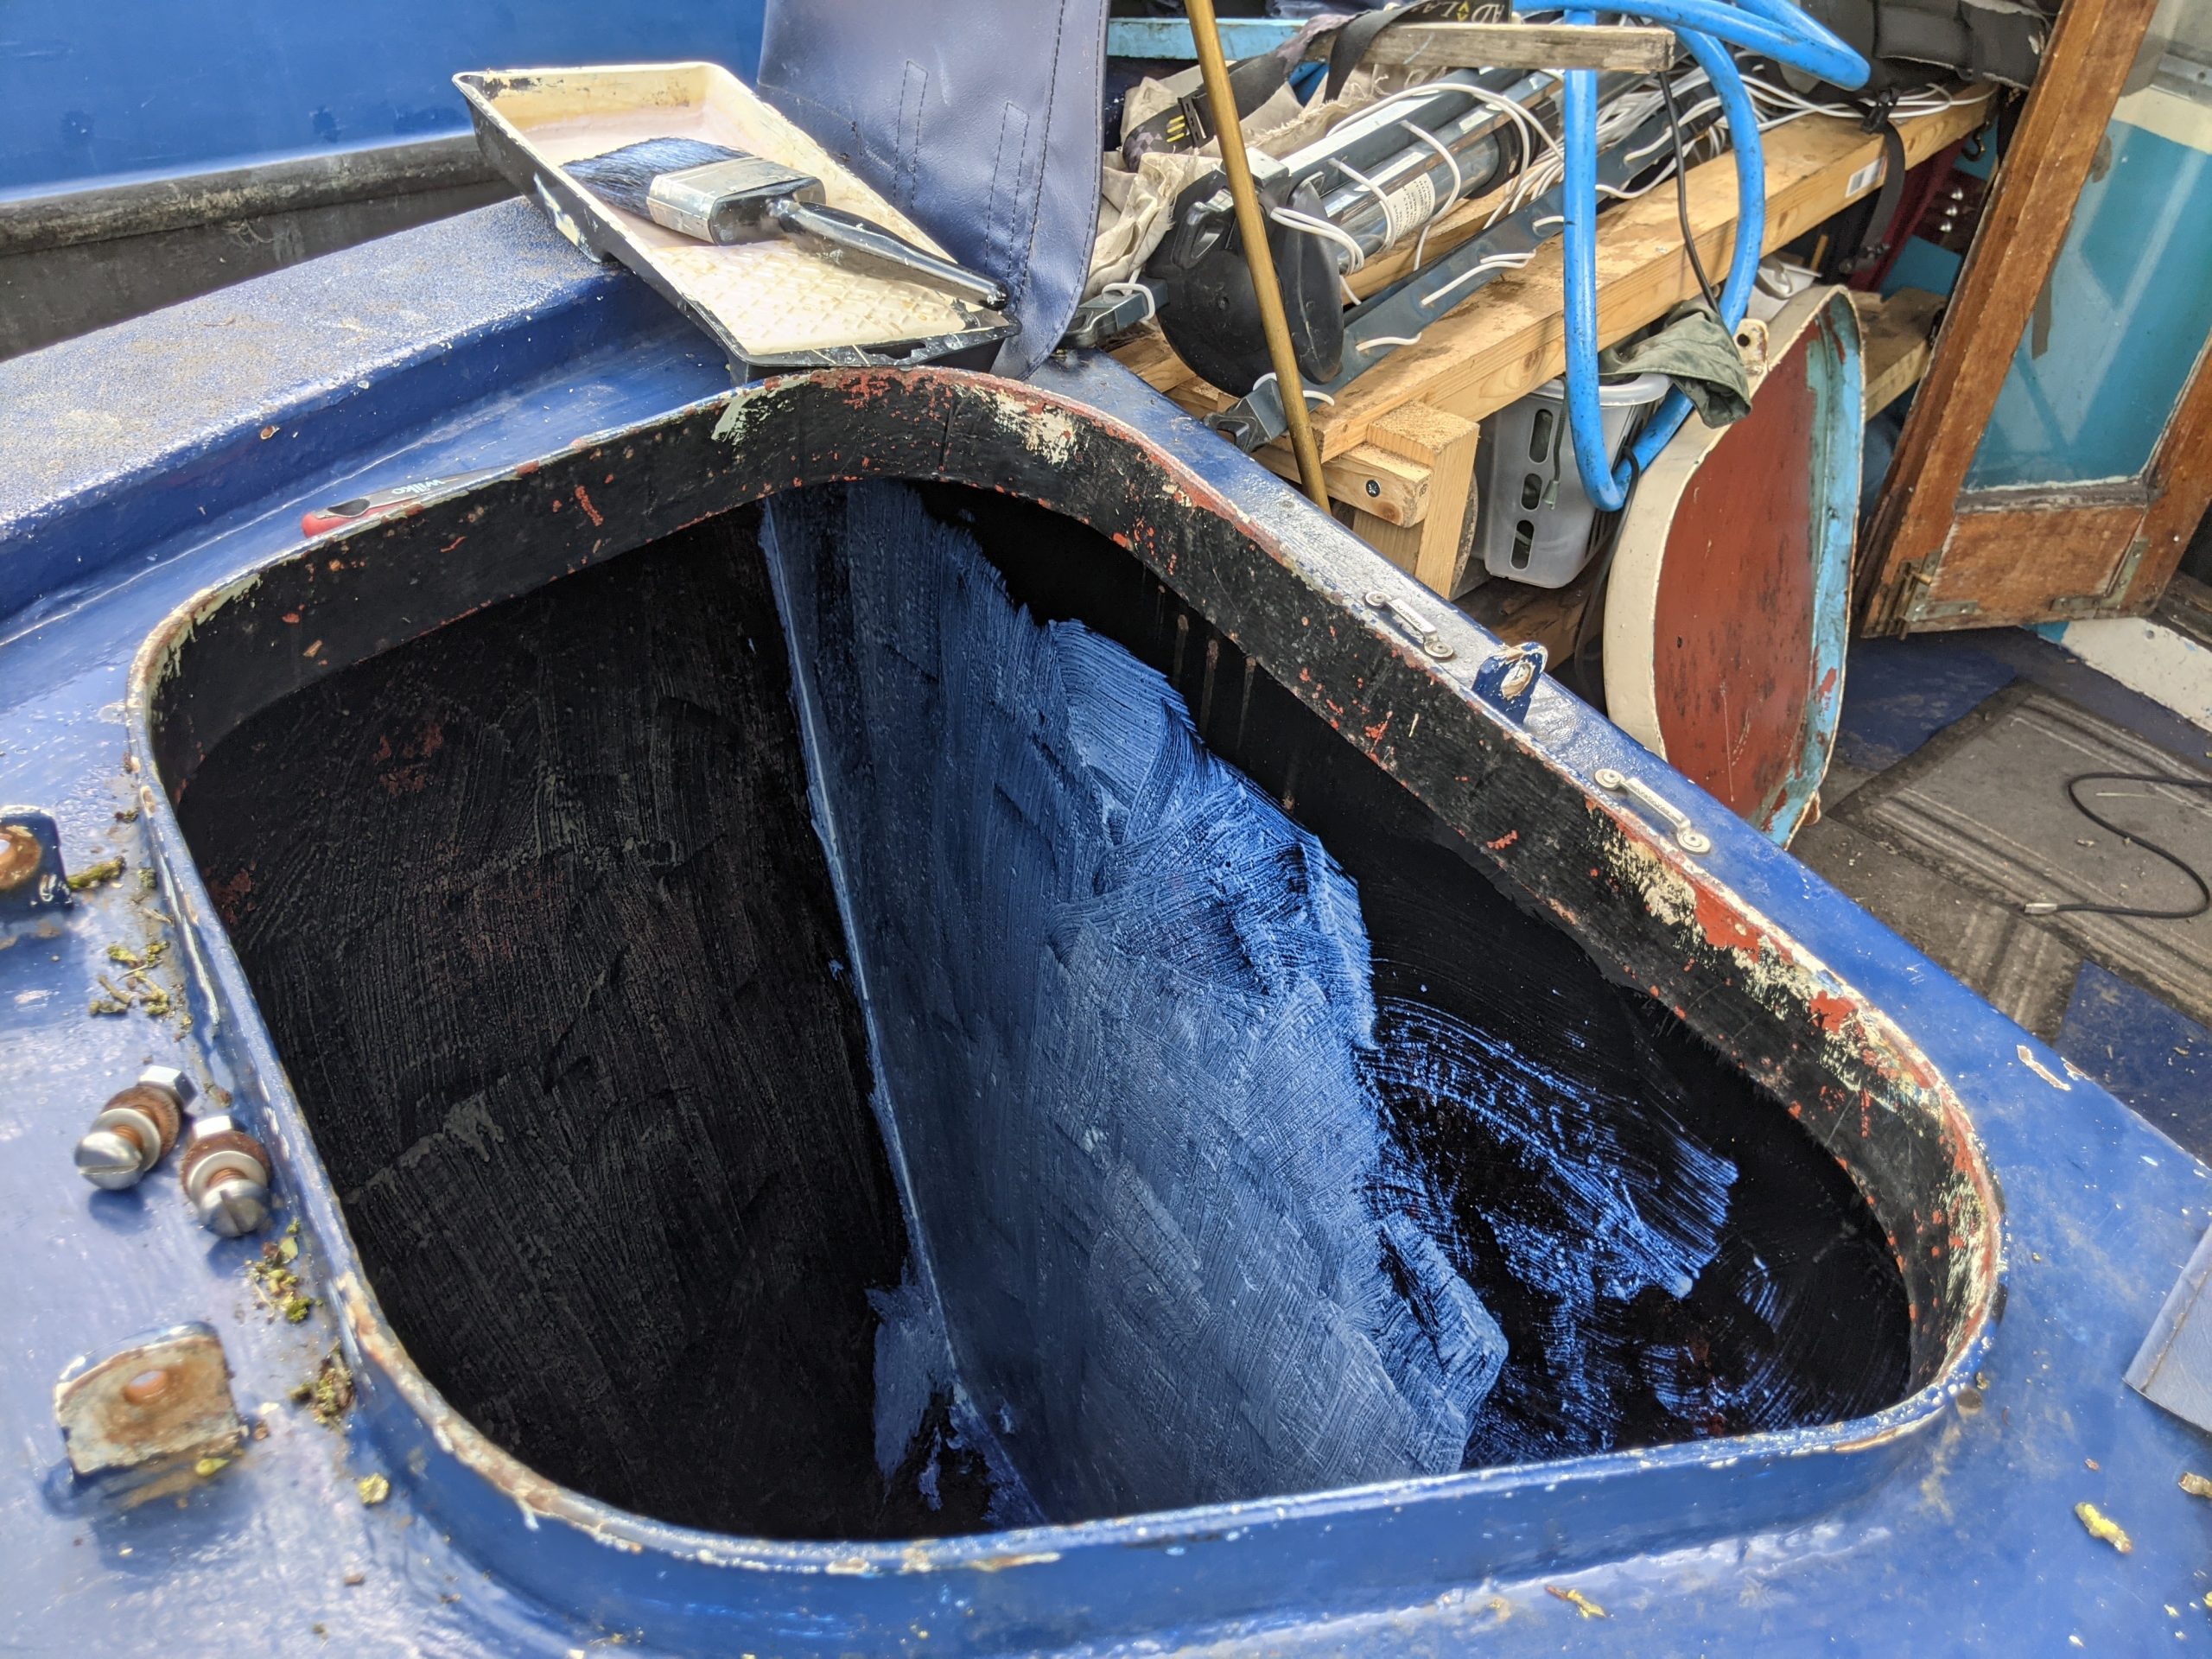
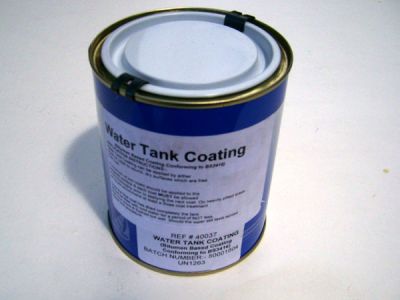
After the 2 coats of Vactan, I applied one coat of Rylards watertank coating paint.
This is said to be suitable for potable water watertanks as long as the tank has previously been coated with a bitumen based watertank paint, which my tank has.
Again, I had to climb right into the tank to be able to get it done.
Day one I did the right side, day 2 to do the left side. So… completely painted it looked like below.
Curing the watertank coating
This is something I was unaware of, or didn’t take seriously the last time I painted the watertank.
The results of not letting the Rylards watertank paint curing were, as I seem to remember, a slight film on the top of the water, and a fairly strong smell of bitumen from the tank itself.
I didn’t want that to happen again a) because I like my water to taste of water, not bitumen b) I wanted the paint to last much longer this time.
For this reason, I followed the Rylards watertank paint spec. sheet, which recommended leaving the paint to cure ‘for a minimum of 7 days’.
That’s what I did.
I sat in the marina for 7 days with an empty watertank, using the marina showers, doing my washing up with cut-water, full of bits, rat piss and all sorts.
Just kidding
There was a tap about 10 yards from the front of the boat!
Not the greatest feeling, every time you need to use water having to decant it from a container, but still, we all have to make sacrifices. After a week (of torrential May rain), it was all done and I set about my merry way.
Here’s some links of you want to paint your waterank
Vactan – Rustproof coating
Rylards – Potable water watertank coating
** Update 27th July, 2018.**

During last summer, the heat of the sun on the hull and the cool of the interior of the water-tank caused a lot of the coating, previously discussed in this post, to flake off.
This left flakes of toxic residue in my water and made it unsuitable as a potable water source.
As an alternative to climbing into the water-tank and getting myself covered in toxic bitumen water-tank paint in the blazing hot summer sun, I decided to try another suggested solution for the coating of watertanks on narrowboats, that would be VACTAN.
Vactan
A water based product. Instead of bitumen, it applies a latex anti-corrosive coat to the watertank.
The advantages of VACTAN vs Rylards Water-tank coating
[su_table]
| VACTAN | RYLARDS | |
| Preparation | Remove lose materials and residues | Remove lose materials and residues |
| Number of coats | 1 | 2 |
| Time between coats | 1hr | 8hr |
| Drying time | 1hr | 7days |
| Type | Water based | Bitumen based |
| Datasheet | Datasheet |
[/su_table]
Below, there are 5 steps to coating your water-tank.
To amend that.
- Strip the loose and decayed metal (#1)
- Apply VACTAN (#4)
- Flush the residue (#5)
If you decide to use one of the other coatings, then you need to take the steps below.
I’ve made a short video about my experience in applying VACTAN and some of the practical observations about using the product.
Painting a narrowboat water-tank, old version
This little story is about how to paint a narrowboat water-tank:
There’s 5 steps
- Strip the loose and decayed metal
- Work surfaces down to bare metal or non-corroded paint
- Apply Iron Oxide paint to areas still rusting
- Apply bitumen blacking paint
- Remove paint residue
Time:
Stripping and prepping (rusty tank) – 2days
Painting (1 primer and 1 top) – 2 days
Total – 4-5 Days
*This is doing it fast. If you want to paint the tank in two halves it’s going to add a day.
Cost:
Paint – £15-£20
Brushes – £15 -£20
Total – £40
Step #1:Strip loose and decayed metal
Tools:
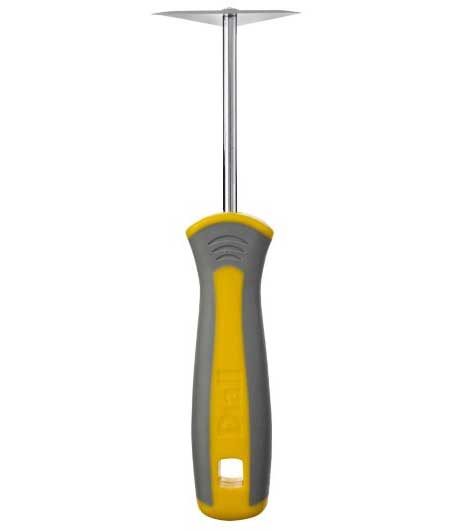
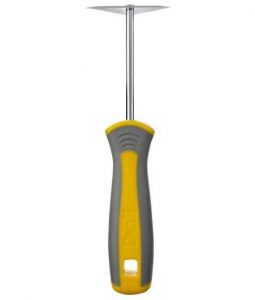
Shave-hook – Triangular headed scraper
Water pump
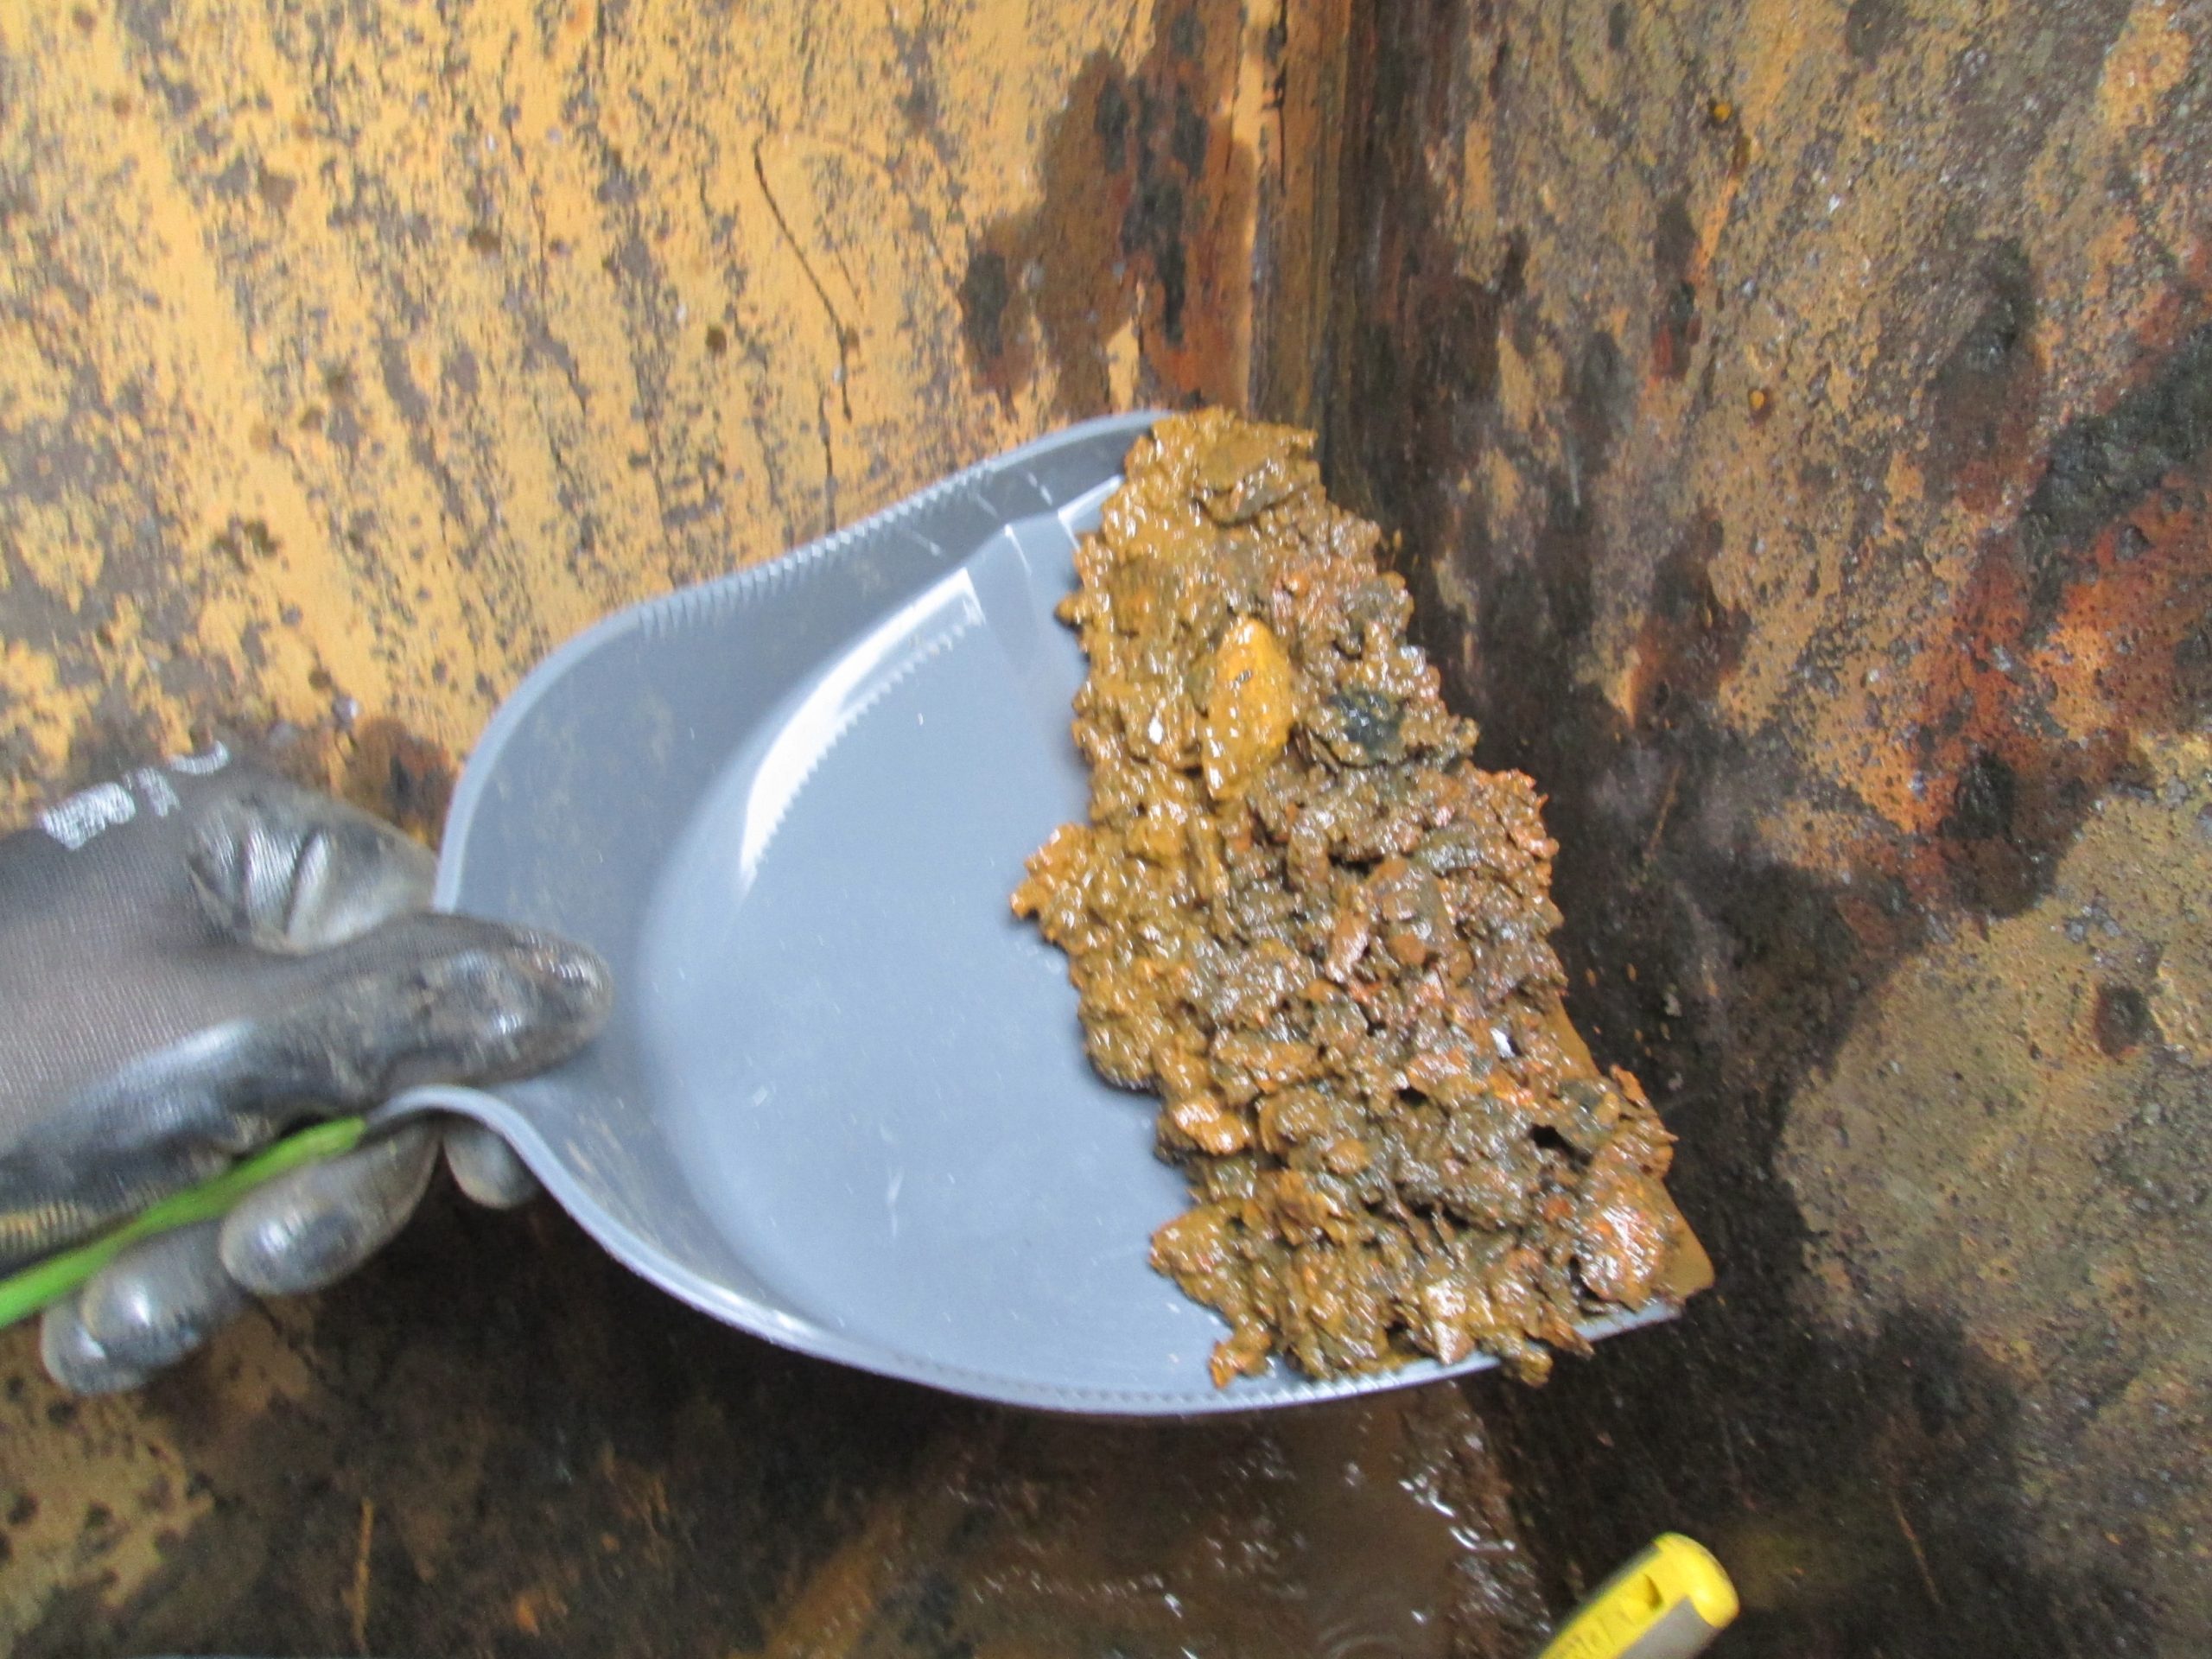
Located right at the front of the boat, the water-tank has been rusting for a while. The paint has come off over time leading to corrosion and a build up of sediment at the bottom of the tank.
Using the triangular headed scraper, or shave-hook, (as it’s officially known), I stripped the inner tank of any of this loose material.
There was perhaps 3kg.
I also had to DRY THE TANK OUT and remove ALL OF THE WATER.
This I did with some sponges, then left it to dry.
Step #2: Work surfaces down to bare metal or non-corroded paint
Tools:
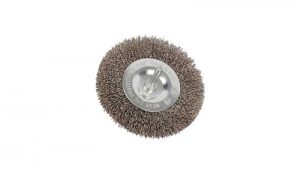
Small wire brushes
Bosch PSB 680 Compact Drill
Crimped wire brushes
Mask + Goggles + Plugs

Actually getting down into the tank.
Ensuring that all the rust is removed from the seems, where the welds are made.
All areas where the paint has come off is reduced to bare metal.
This took a period of about 9 hours in total.
It’s no small job.
You will find you and your tools are covered in sticky grime, I would recommend covering up, I’ve featured the bare minimum of PPE you’re going to require.
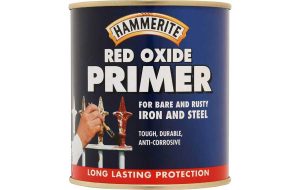
Step #3: Apply Iron Oxide paint to areas still rusting
Materials:
Iron oxide paint
Getting back into the tank.
Vacuum out with a small handheld 12v Bosch vac, I also wiped the walls down with a damp cloth.
The red oxide is essential to prevent further corrosion. Don’t use any other type of primer.
Priming the area where metal is showing.
Takes about 2-3 hours.
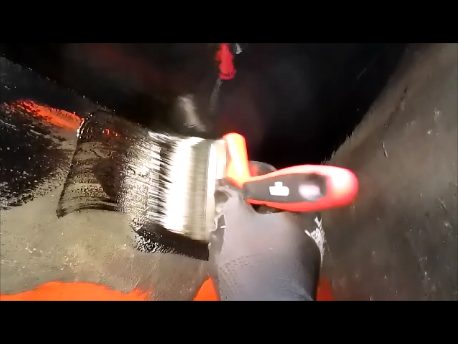
Step #4: Apply bitumen blacking paint
Materials:
Rylard watertank coating.
The regulations concerning water-tank paint coating have changed…
Into the future, all bitumen based coatings are to be phased out.
If you have bitumen ALREADY in your tank, this is the only coating you can apply under current EU health regulations.
Climbing into the tank with a large 4″ paintbrush.
I actually poured the paint into an old Fray Bentos pie tin, something you may or may not have lying around….
Initially, I would have said 1-2 hours, but to get full coverage. Working into all the pits and seems. Takes about 4 hours.
I’ve applied two coats.
The best way, if you’re not able to do it in one go,which will involve some physically demanding work, would be to paint one half, leave to dry, then paint the other.
You need two coats. One will not do.
Step #5: Clean residue.
This isn’t one I expected.
There is, however, a fair amount of small paint particles and residue that need to be removed before the water is drinkable.
Simply a case of filling the water tank, mopping down all the sides with a clean mop.
Emptying leaves the particles on the side of the tank which can then be wiped off with a damp towel.
You can use Milton solution.
You may have to do this routinely, if you want to use your water tank for potable water.
Leaving the milton solution to soak for the recommended period, 4 hours, then emptying the tank after flushing round your system thoroughly.
Job done….
Related Reading

In the 1990’s, a political scientist named Stanley Feldman developed a set of four very simple questions to related to parenting to test the level...

A hiking trip for Mount Rinjani in Lombok

Top 14 tips for Amazon Flex drivers (UK). Map of Amazon Flex depots. Amazon Flex contract for drivers.

This is a short guide to installing flexible solar panels to a narrowboat. How long do flexible solar panels last for? No doubt, less long...
As June draws near, Bonnie needs to travel North. This year, she’s going in for blacking. The last time I had this done was July...
Oh my you have been busy. The water tank look a million times better…..very pleased g. I guess they managed to fix the disel leak in the pipe when they serviced her.
We’ll done
Wow…..impressive you will have an excellent water tank good for years…..good piece of work….
I have just caught up with your blog.
This entry looks good, and the tanks itself certainly did, yesterday. I only glimpsed into the gas compartment when you showed me it a couple of weeks back, but that looks an interesting challenge, with it being so much smaller.
After our chat about painting yesterday I had a bit of a read around. Just out of interest, then, here are three pages (probably of many) that might help us all get our thoughts together before August. And I see that there are quite a few courses on painting narrowbaots, would you believe!
http://www.willowboats.co.uk/paint/top_tips.html
see Bondi Blue – https://www.boatpaint.co.uk/acatalog/International-Toplac-Paint-p1.html
http://livingonanarrowboat.co.uk/living-on-a-narrowboat-articles/painting-a-narrowboat/
Did my Trip Advisor entry on the Middle Bell just now.
I’ll read these later on.
I think it will be much better to dry dock it for the paintwork.
I am worried by your use of what you call “Iron Oxide” paint. Red Lead is NOT Iron Oxide – it is Lead Oxide and very definitely should not be used in a potable water tank.
It’s a good job I can read then David, ‘cos it pretty clearly says ‘Iron Oxide’ on the label. Not lead Oxide.
Thanks for taking the time to comment.
Morning, My name is Paul I’m about to start refurbishing my narrow boat water tank;
I’ve got rid of all the rust and treated it with a rust preventer, Could you please recommend a suitable primer/ paint to finish it of, Thanks
I don’t have anything I can recommend specifically. Whatever you put on, it needs to meet ISO 24512:2007, potable water. If you don’t intend to drink it, that opens up the possibilities to other non-compliant products.
I used VACTAN. You can use VACTAN, but I believe they recommend it on bare metal.
Thanks for you useful guide.
Very helpful for us. We’ve just bought our 1st narrow boat and the 1st job is the water tank. What a gruelling job.
Thanks very much for pointing me at Vactan. I paid to have the lid removed (it was seized solid) tank cleaned and loose rust removed, expensive job but no doubt very messy, so well worth it. Then I painted the inside of the tank with Vactan and it seems really good. How well it will wear, I don’t know but at least I can remove the lid and have a look in a year or two.
John. I don’t think it lasts forever. I didn’t remove the previous coat of bitumen based rubbish, and it’s this that appears to be coming lose. It’s getting on for 18 months. I will give it another coat when the weather improves.